
我這里還是希望dji可以把這個mpy的一些源碼放出來,因為我覺得是無關(guān)緊要的東西,然后去學習一下。而不是這樣盲目的去猜。
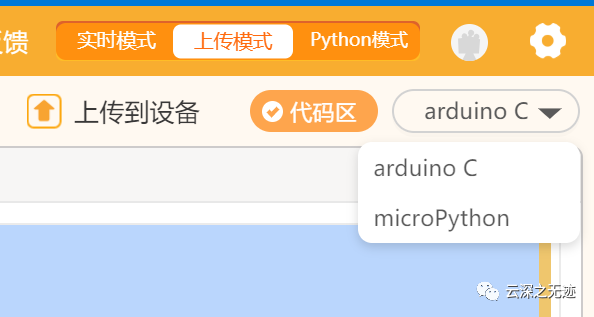
使用前用Mind+燒錄mpy的固件
編程環(huán)境,推薦這個,Mind+太重了
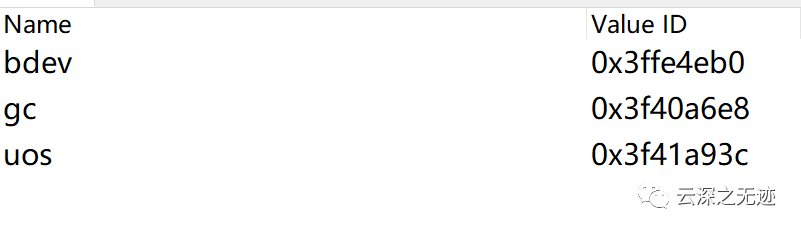
一開始的進入,主要就是開啟了GC
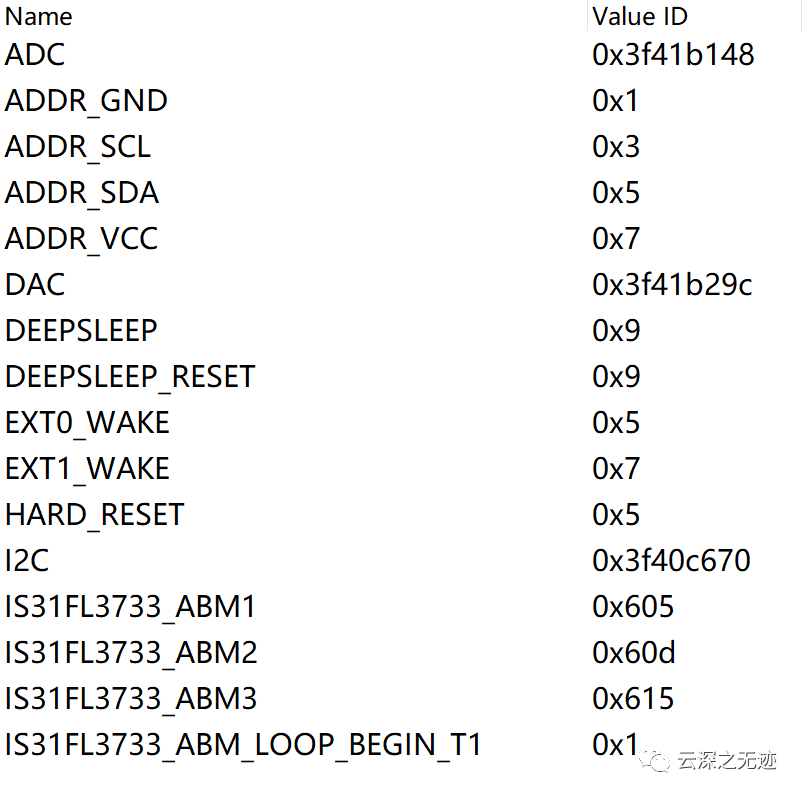
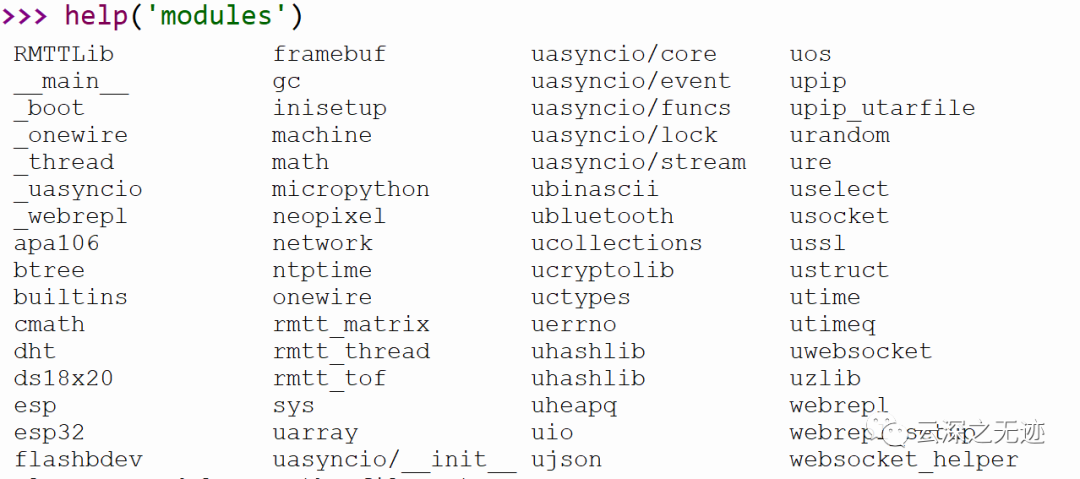
當你引入RMTT的庫,這里就會引入大量的東西
里面大量的IS31FL3733是什么?研究一下:
https://pdf1.alldatasheetcn.com/datasheet-pdf/view/862170/ISSI/IS31FL3733.html數(shù)據(jù)手冊
IS31FL373x矩陣LED驅(qū)動器系列集成了許多先進的功能,如可配置的矩陣(行/列)結(jié)構(gòu),預(yù)編程照明效果功能,獨立的LED控制寄存器,獨立的LED開路/短路故障檢測,以及設(shè)備級聯(lián)同步,所有這些都可以通過快速1Mhz IIC兼容總線接口訪問。每個LED都有自己相應(yīng)的控制和故障狀態(tài)寄存器,以提供單獨的LED照明效果、去重影和故障報告,以增強整體系統(tǒng)性能和可靠性。LED矩陣結(jié)構(gòu)通常會經(jīng)歷一種“鬼影效應(yīng)”,即由于LED陣列矩陣中的剩余電荷,LED會保持微弱的狀態(tài)。IS31FL373x系列消除了這種剩余電荷,從而消除了鬼影效果。此外,LED在不知情的情況下,可能會因為LED打開或短路而無法打開。IS31FL373x系列檢測失敗的LED條件,將其存儲在開短寄存器中,并生成一個中斷來通知系統(tǒng)失敗的LED在數(shù)組中的位置。
TT內(nèi)部的點陣屏幕的控制是使用的一個開源的庫,位置在下面:
https://github.com/zhongkunyu/is31fl3733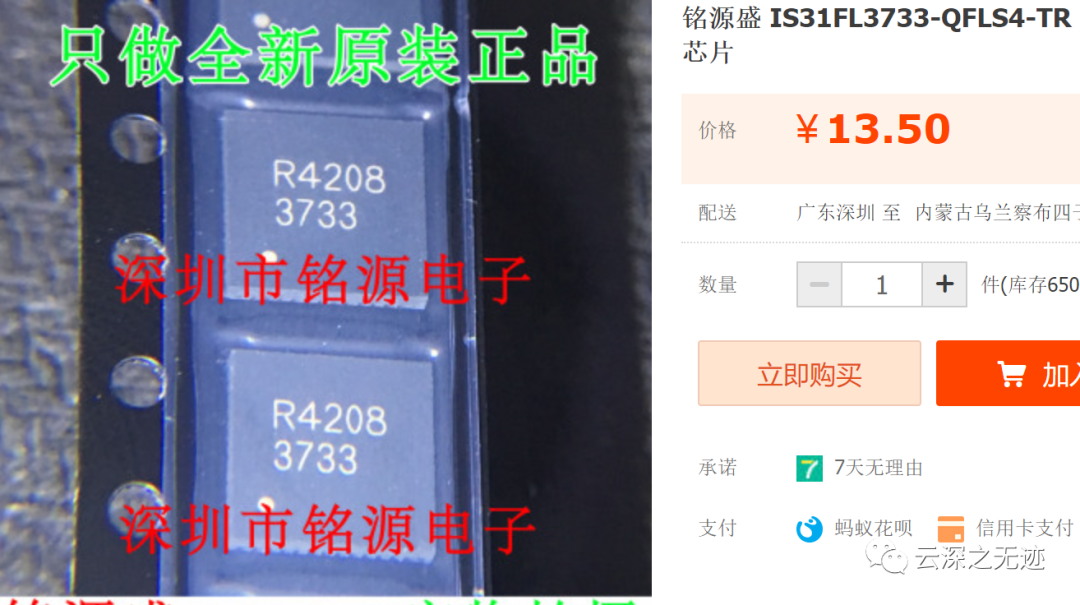
這個芯片就是光禿禿的一副死樣子
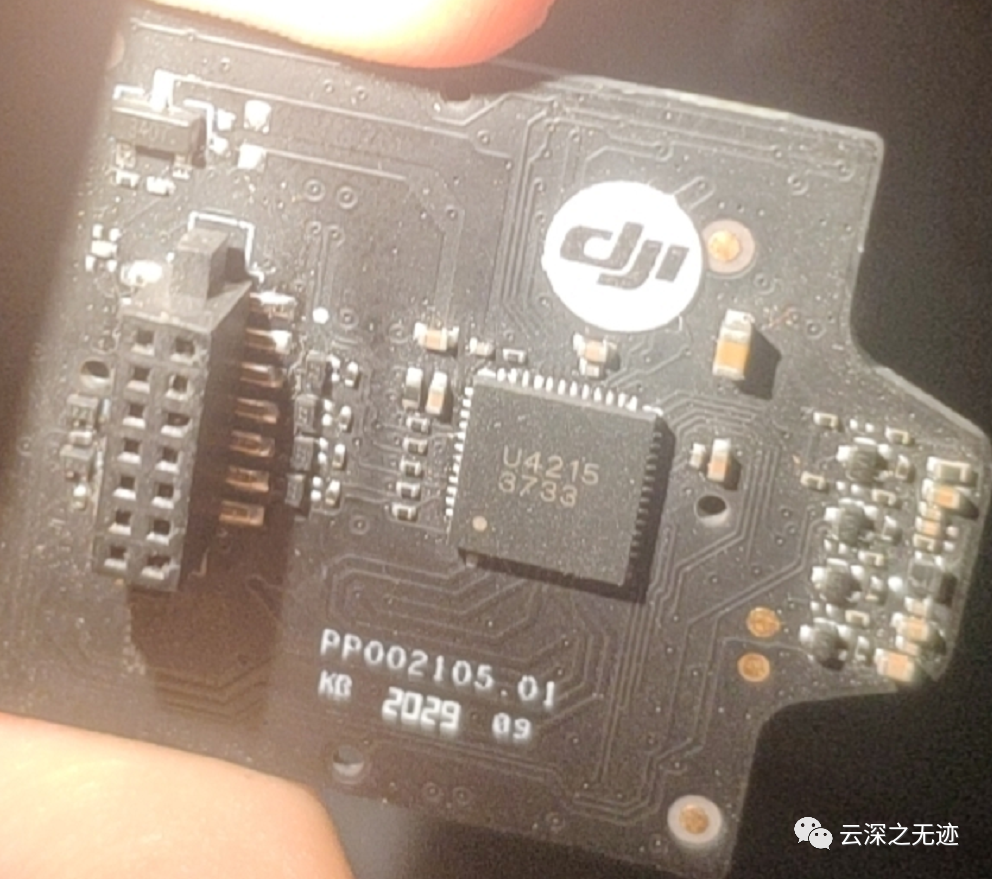
3733應(yīng)該是對上的
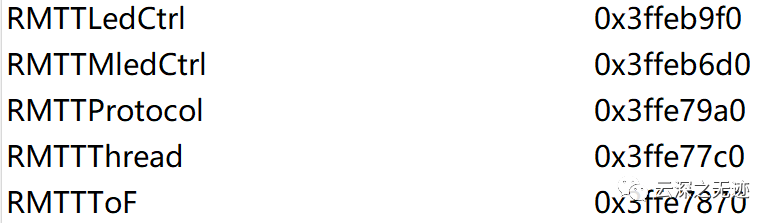
如果你導(dǎo)入了RMTT的所有的庫,那么這些是一并導(dǎo)入的
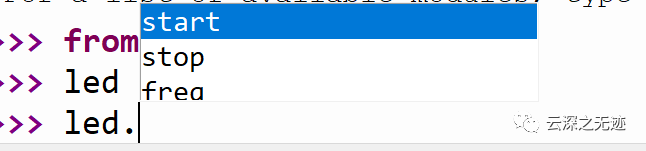
Tab會補全

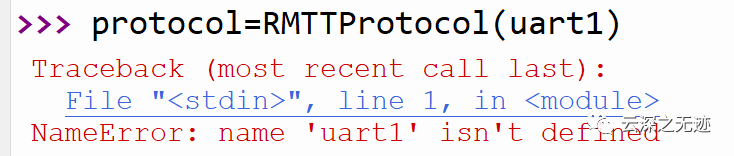
此時
https://docs.micropython.org/en/latest/esp32/quickref.html#uart-serial-busESP32 具有三個硬件 UART:UART0、UART1 和 UART2。
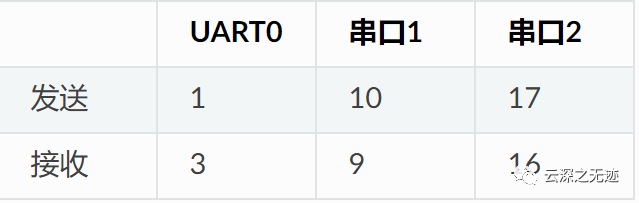
這是mpy默認的ESP32 串口引腳

我們這樣的寫法初始化一個端口
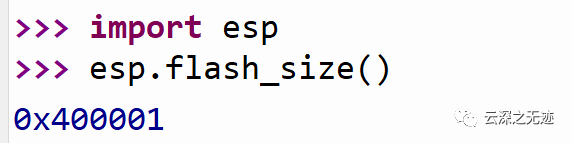
這些低級的API都是可以使用的
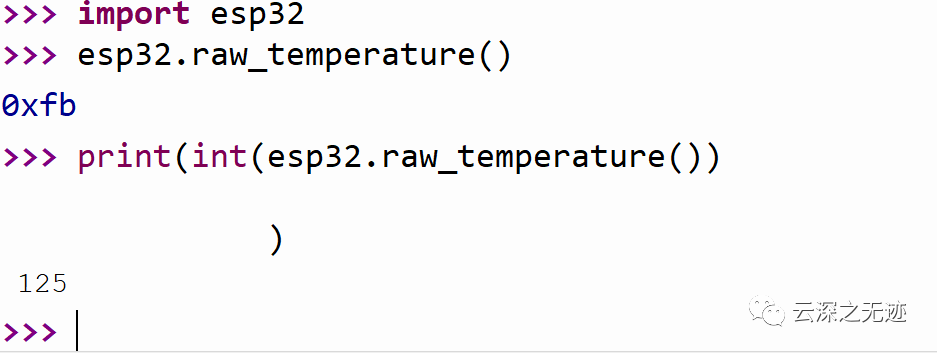
關(guān)于低級的API也是可用的,芯片溫度
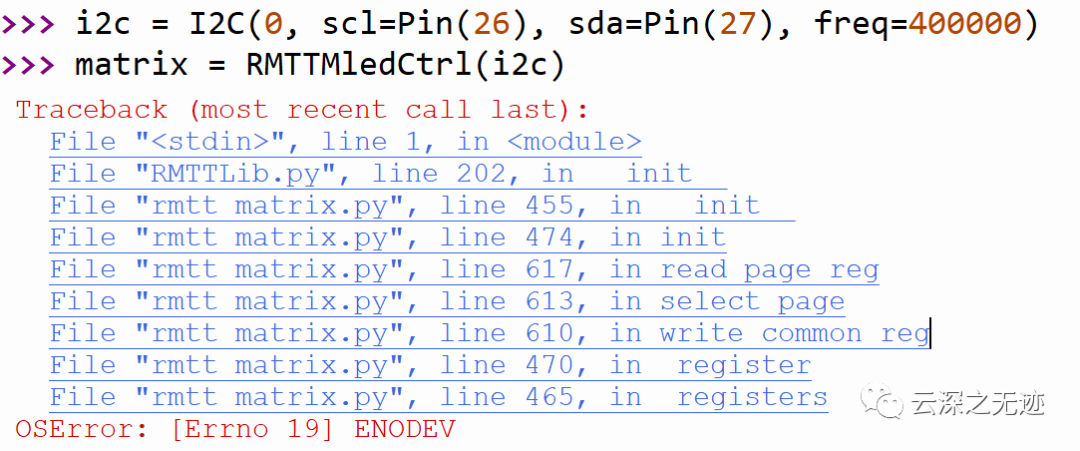
我這里明明看見了
我這里寫幾個函數(shù),模擬一下ls,cat,rm:
def cat(filename, ln=True):try:with open(filename, "r") as file:count = 0for line in file:count += 1print("{}\t{}".format(count if ln else "", line), end="")except Exception as e:????print(str(e))
cat
def ls(folder):??print("listing...")
ls
def rm(filename):??print("removing...")
刪除
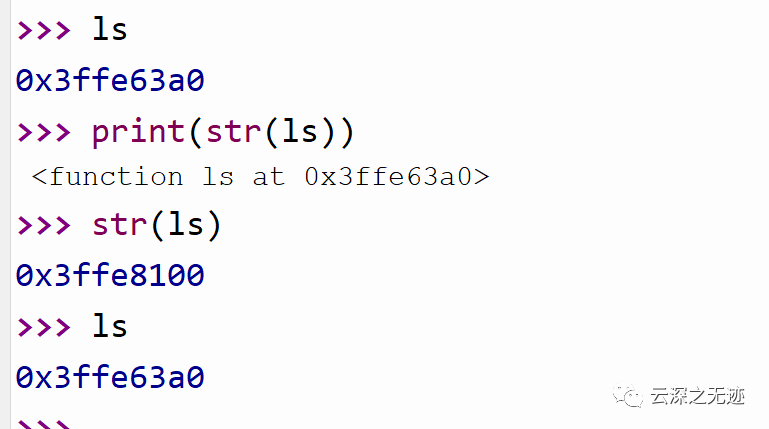
但就是不出現(xiàn)文件的名字,emmmm,得不到文件了
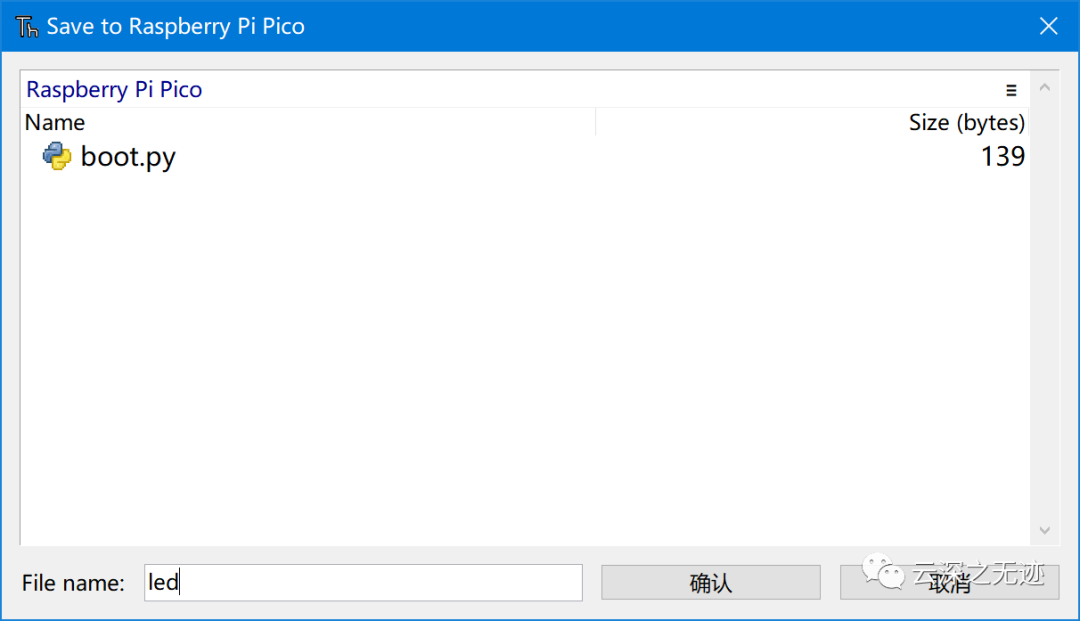
你寫完東西,保存就放到TT里面了
from machine import Pin, PWMfrom machine import *from?RMTTLib?import?*led?=?RMTTLedCtrl()led.normal(0,?0,?255)
這是讓燈buling buling
led.normal(0, 0, 255)led.normal(255, 255, 255)led.start()led.breath(1, 0, 0, 255)led.start()led.blink(1, 255, 0, 0, 0, 255, 0)led.start()led.blink(1, 255, 255, 255, 255, 255, 255)led.stop()
這是關(guān)于這個RGB燈的方法
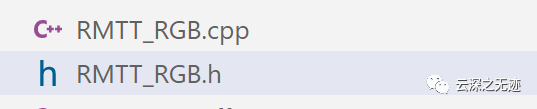
arduino這邊是開源的
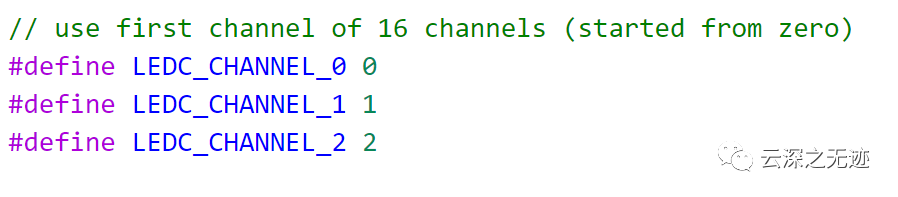
選擇三個通道
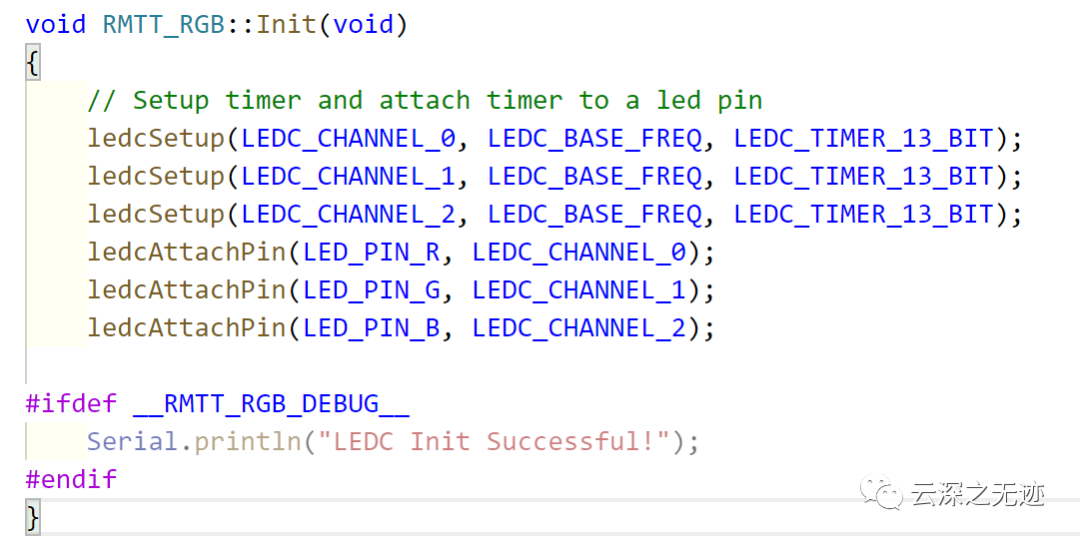
然后就是ESP32的這個燈的方法
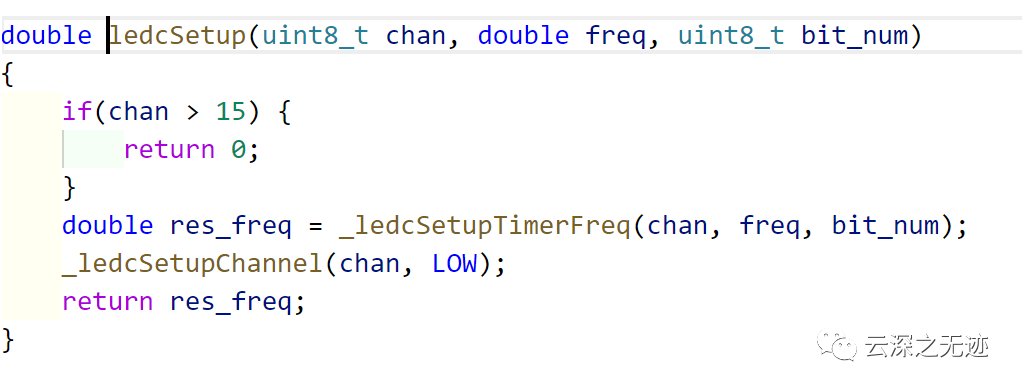
具體的實現(xiàn)方法在這里
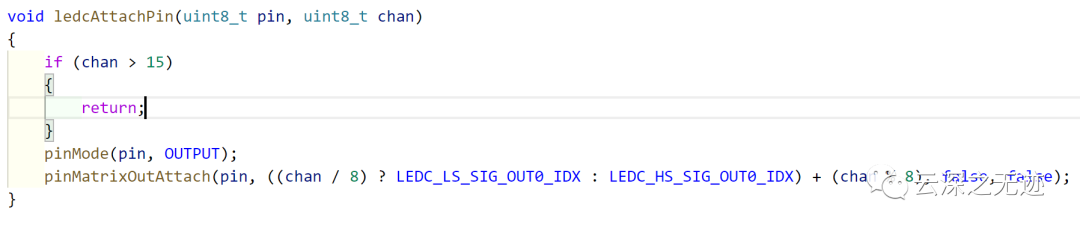
還有,還有
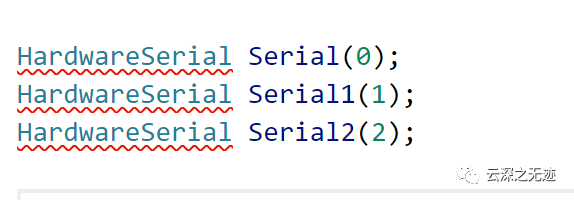
串口0就是USB鏈接這里

上面的宏打開以后,這里會打印LEDC的成功消息
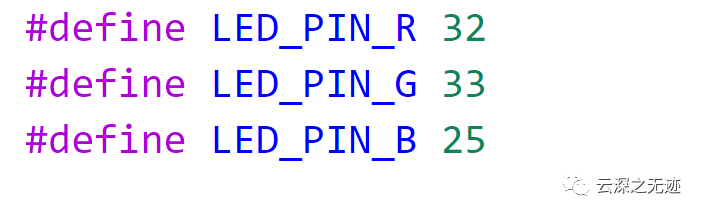
插一句,這里是引腳的定義
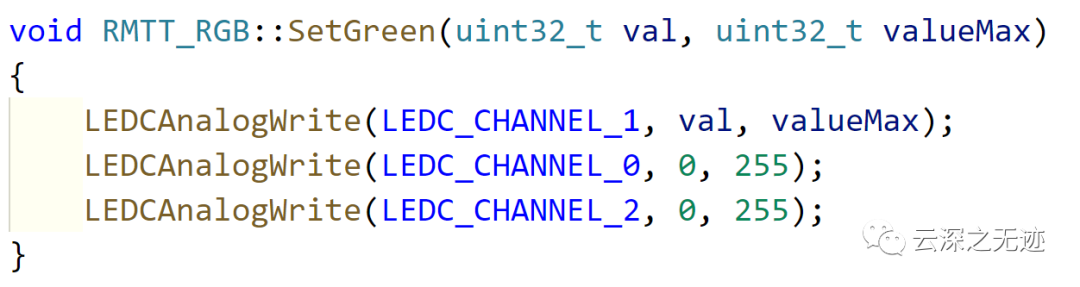
他是控制每一個燈,然后合起來的效果就不一樣了
我覺得吧,要是真真正正的用TT玩些什么東西,Arduino還是靠譜的。
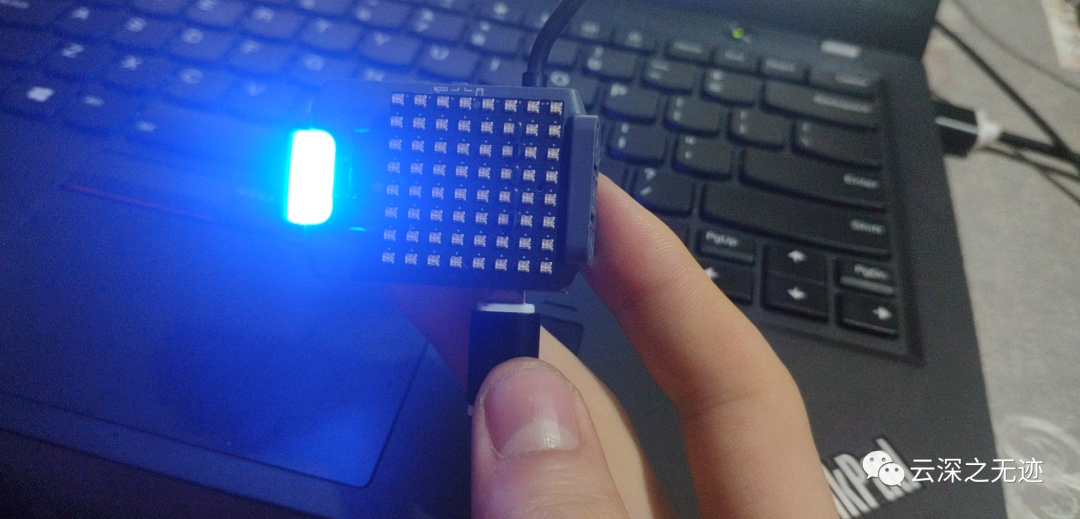
我們的這個點陣屏幕也可以控制:

這里是打印一個符號
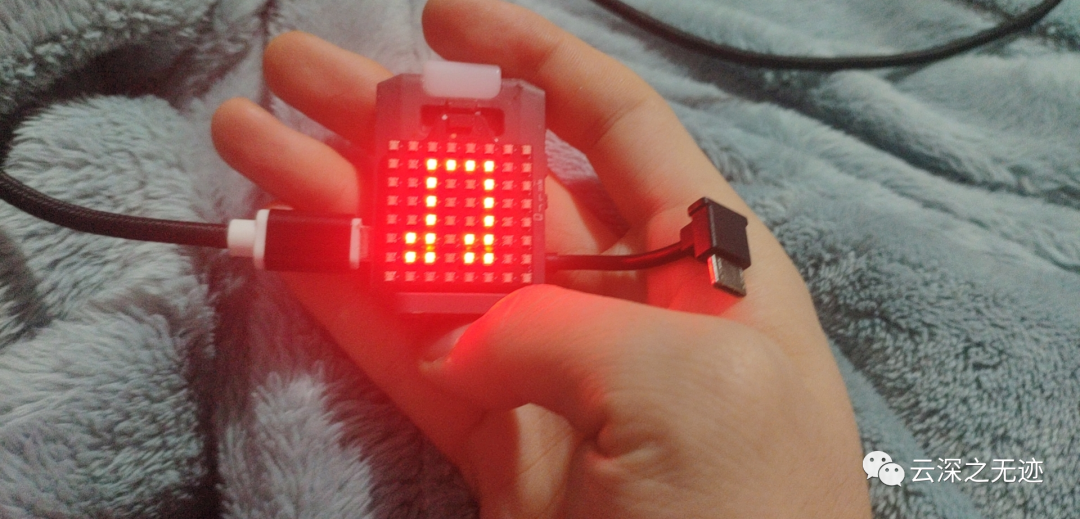
效果
matrix.normal('0000000000rrrr0000r00r0000r00r0000r00r000rr0rr000rr0rr0000000000')matrix.static_char('A', 'r')matrix.static_graph(256, 'r')matrix.start()matrix.moveable_graph('u', 1, '0000000000rrrr0000r00r0000r00r0000r00r000rr0rr000rr0rr0000000000')matrix.start()matrix.moveable_char('u', 1, 'HELLO', 'r')matrix.stop()
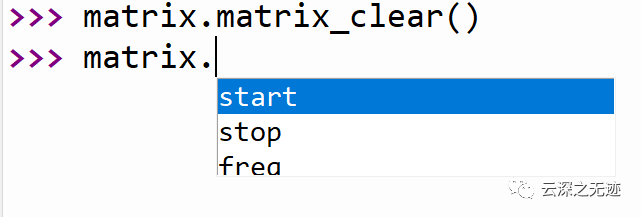
這個由于很細粒度的API,DJI也沒有給出,這里可能需要自己摸索一下
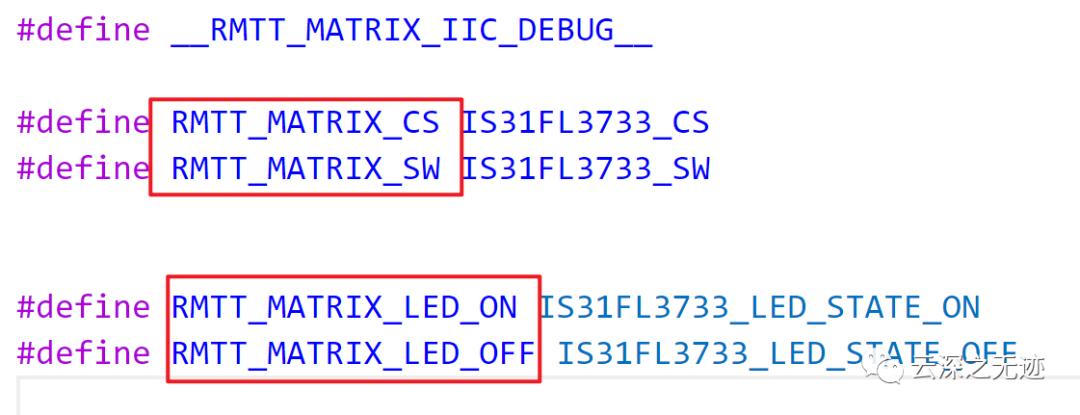
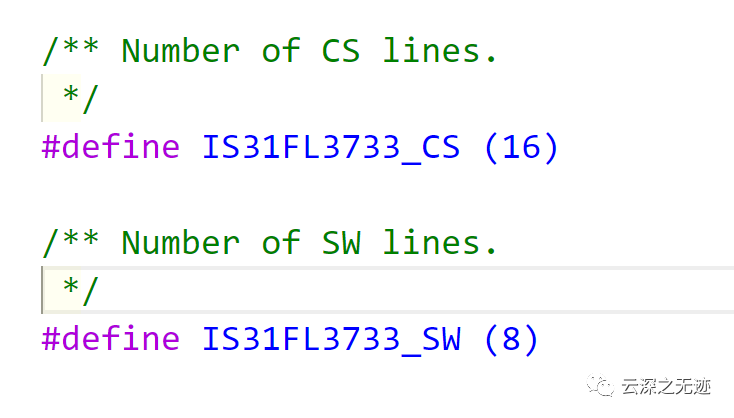
行數(shù)列數(shù),奇怪不是8x8

引腳, I2C的配置
下面就是對這個芯片寄存器的包裝了,不看了。
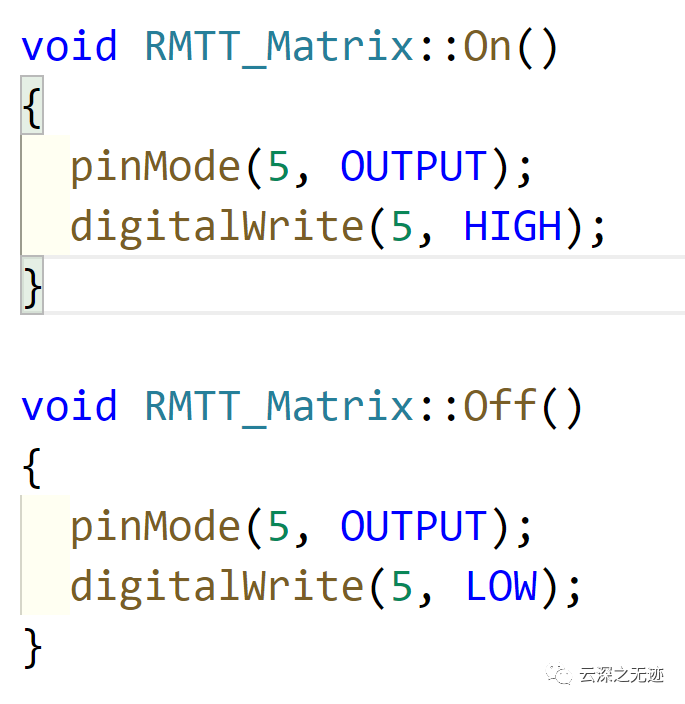

這個LED的狀態(tài)的時候
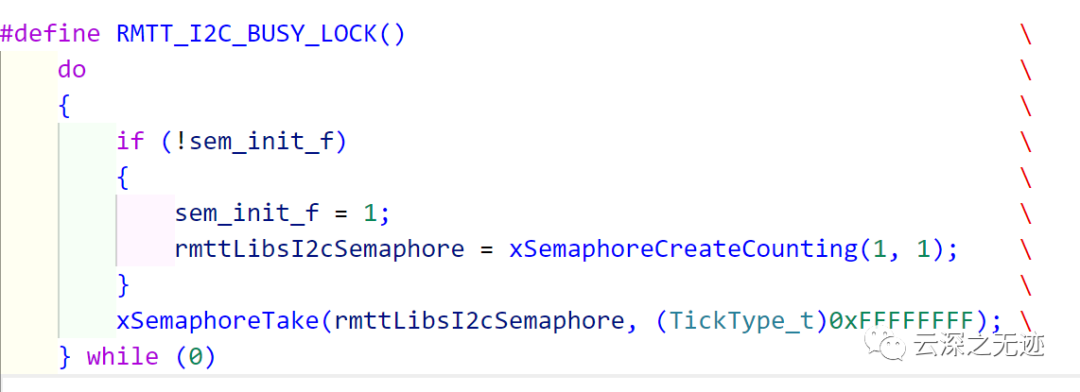
這里就使用了RTOS,資源的加鎖
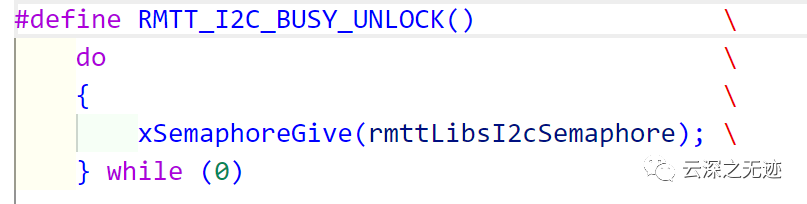
資源的解鎖
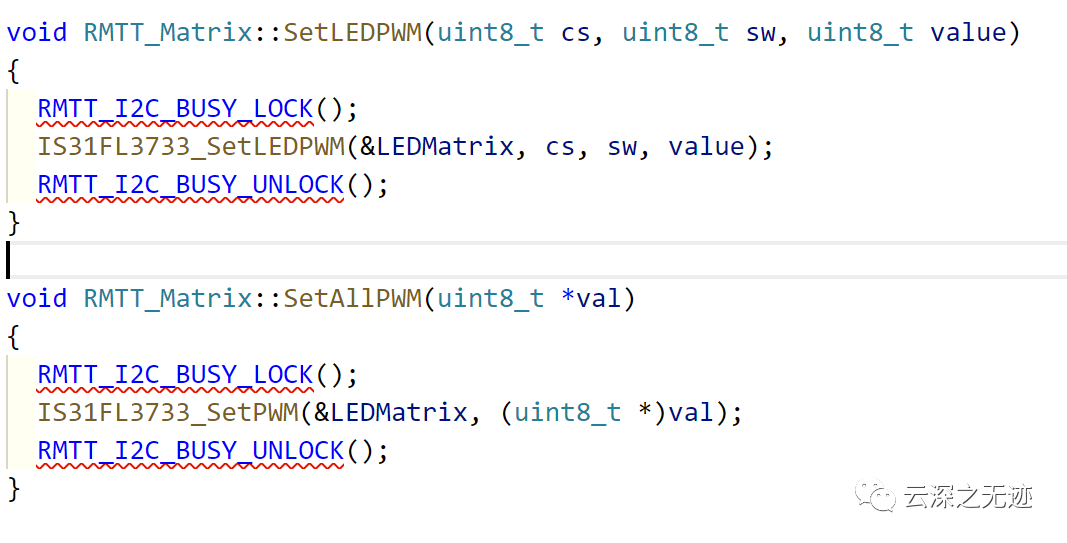
下面所有的寫法,都是先加鎖,處理完,解鎖
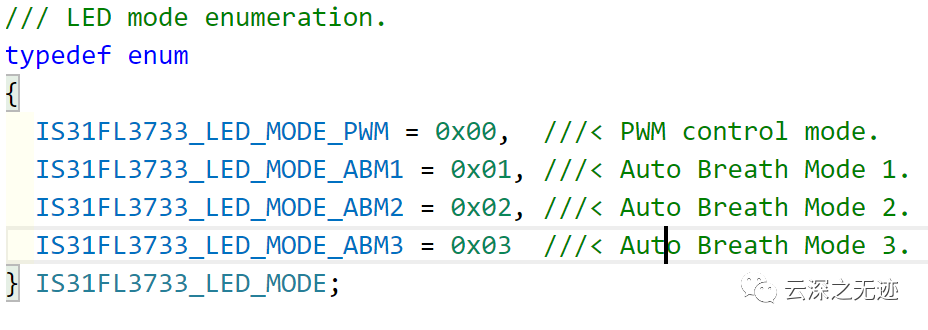
這個芯片也可以設(shè)置驅(qū)動模式,在這.
ABM的名字叫呼吸驅(qū)動模式(俺也不明白是什么)
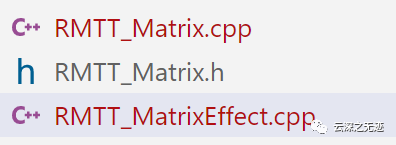
這里呢,還有一個是點陣的效果,又封裝了效果的文件
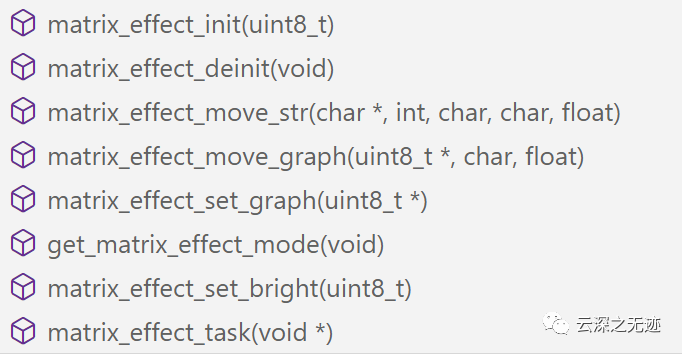
幾種效果
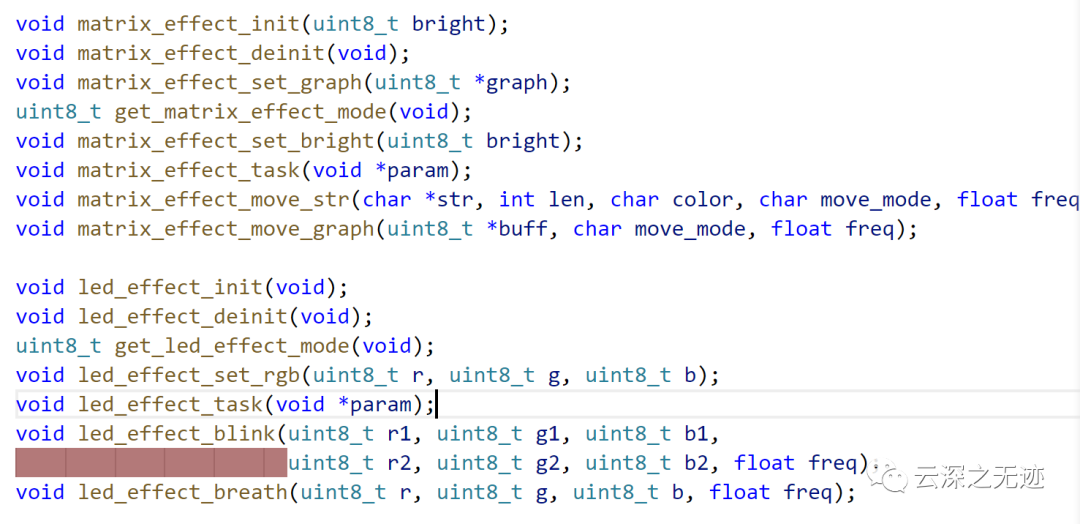
更全的在這里
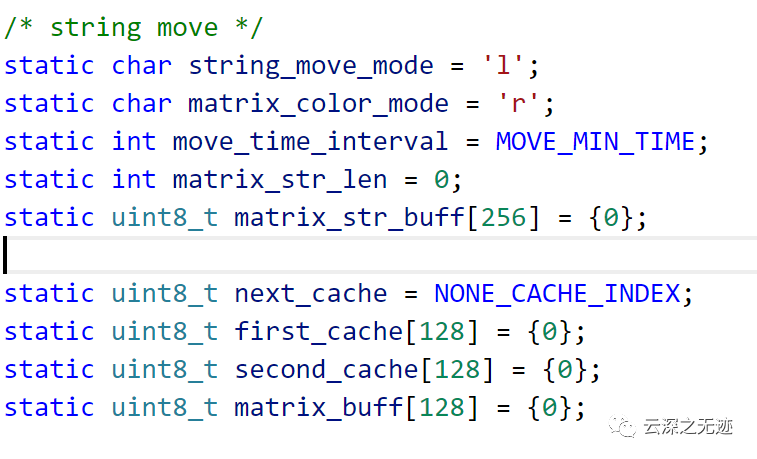
字符串的移動?
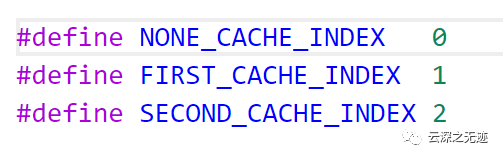
模式封裝
ESP32 使用的是FreeRTOS,我不熟悉,所以去學學看。
https://www.freertos.org/index.html官網(wǎng)的地址
我們編寫的 Arduino 代碼是跑在FreeRTOS系統(tǒng)上的,并非裸奔。例如?loop()函數(shù)是通過創(chuàng)建一個優(yōu)先級為1的任務(wù)來運行此函數(shù)。
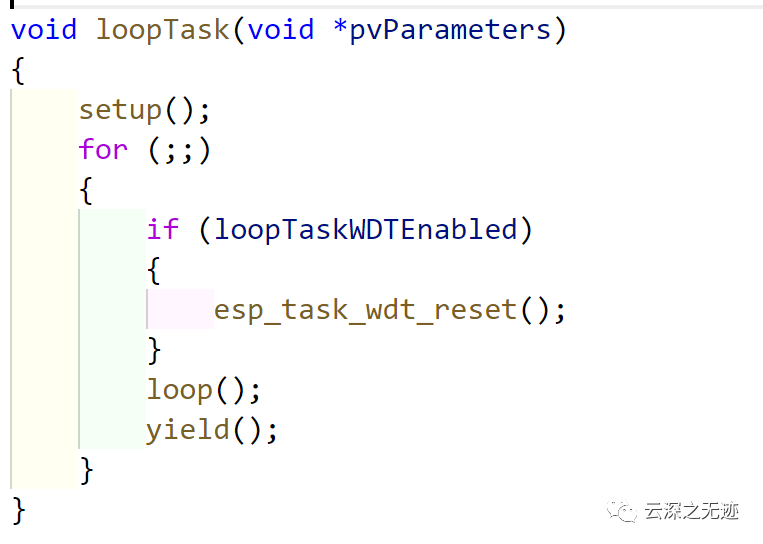
信了嗎?
關(guān)于任務(wù)的創(chuàng)建什么的:
C:\Users\yunswj\Desktop\TT\mpython\tools\sdk\include\freertos\freertos\FreeRTOSConfig.h
高優(yōu)先級任務(wù)必須延遲一定時間,給低優(yōu)先級任務(wù)留出執(zhí)行時間,否則低優(yōu)先級任務(wù)永遠處于掛起狀態(tài),會導(dǎo)致系統(tǒng)復(fù)位。

創(chuàng)建任務(wù)句柄
void vTaskFunction(void *pvParameters){for(;;){vTaskDelay(1000);}}
任務(wù)函數(shù)這樣定義。
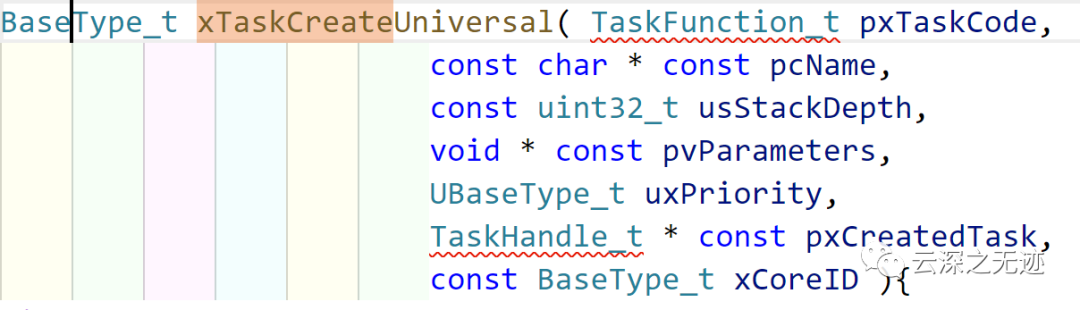
這個是我們TT的任務(wù)(并不是。。。)
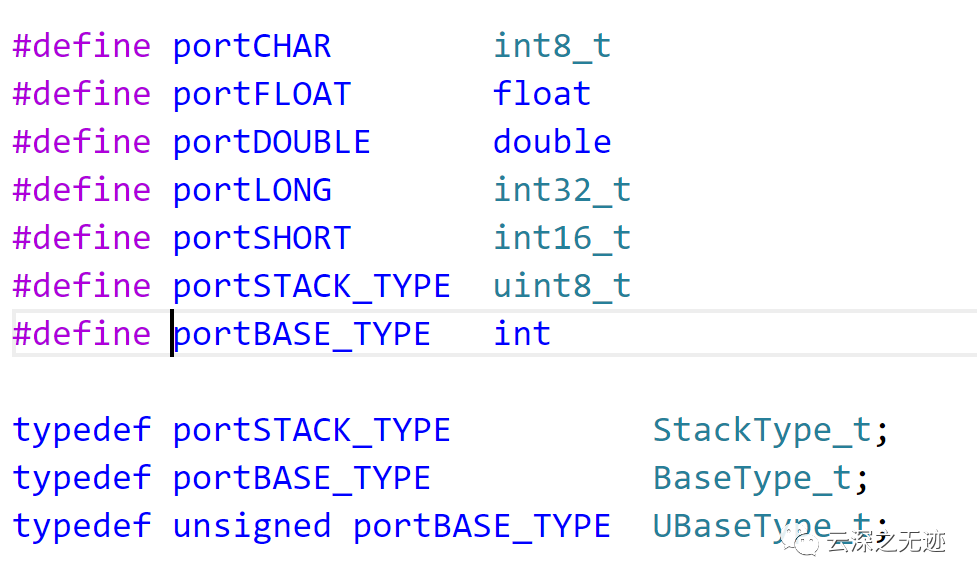
順便看看定義
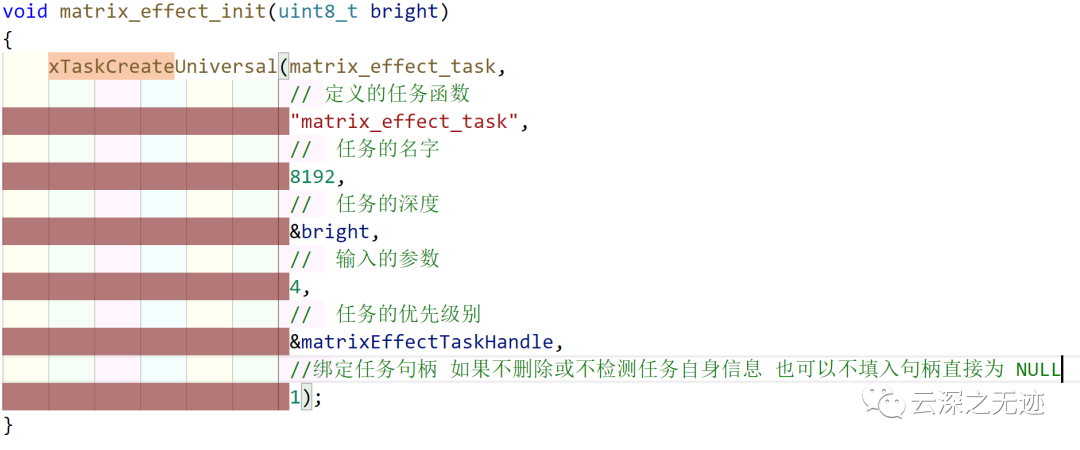
這是任務(wù)
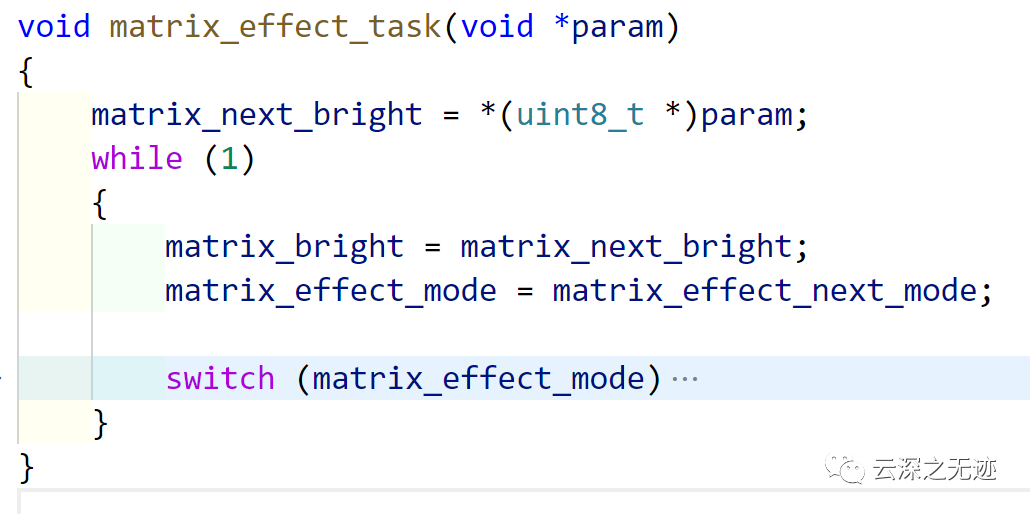
任務(wù)的具體實現(xiàn)在最下面,參數(shù)是:
void matrix_effect_init(uint8_t bright);這里給的
//刪除任務(wù)句柄為 xHandle1 的任務(wù)vTaskDelete(xHandle1);
刪除任務(wù)句柄
//刪除調(diào)用此句的任務(wù)自身vTaskDelete(NULL);
不指定任務(wù)句柄
接下來就去研究這個FreeRTOS了,真不錯。
我上面是測試通過的方法。
大家可能對于上面花里胡哨的東西不敢興趣,那可以看看關(guān)于控制協(xié)議的問題

因為Arduino就是這個串口配置
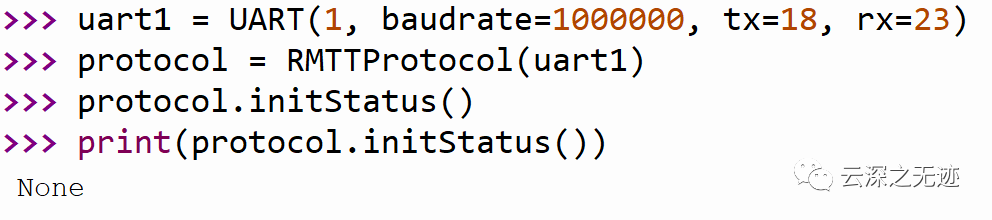
so,這里也是這樣的配置方法
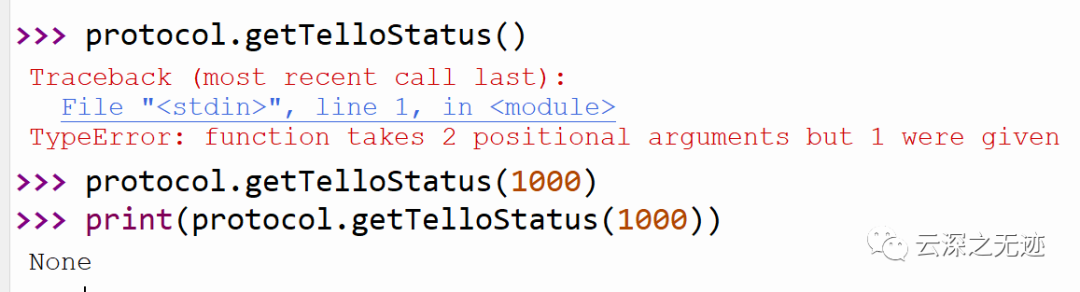
可以調(diào)用一些方法,出錯是因為人家要參數(shù)
void getTelloStatus(uint32_t timeout);看C++的實現(xiàn)
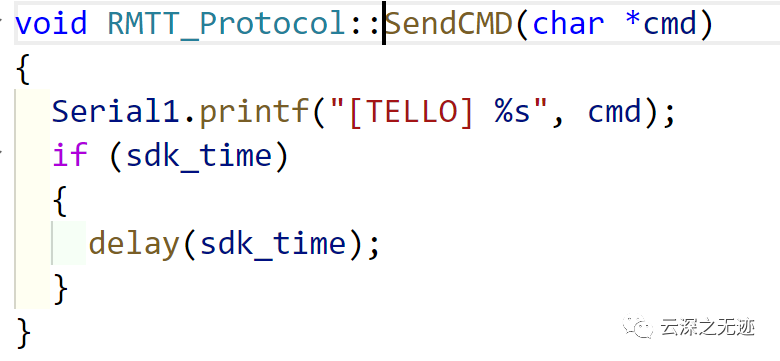
這個遲早會見到,我以前的文章,詳細的解釋過
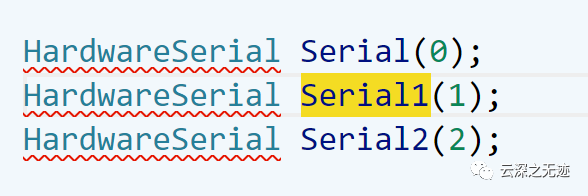
串口使用的1,串口0是連接電腦,串口1是通過USB到TT
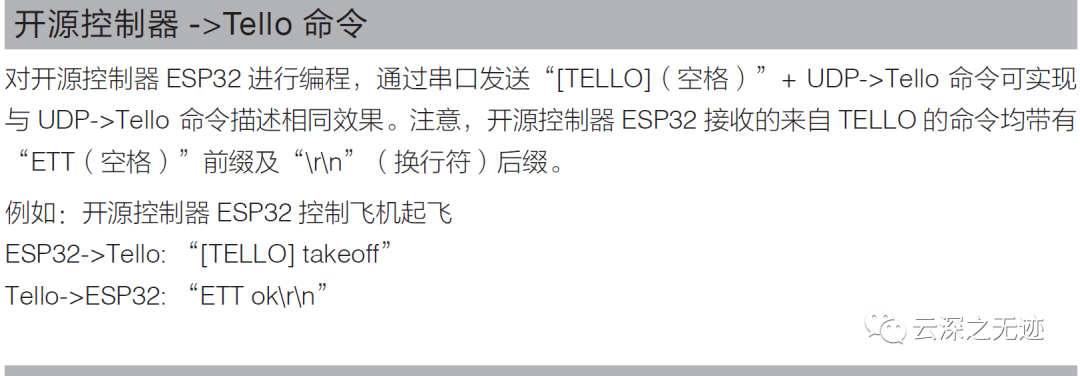
發(fā)送這塊明白了,看下回復(fù)
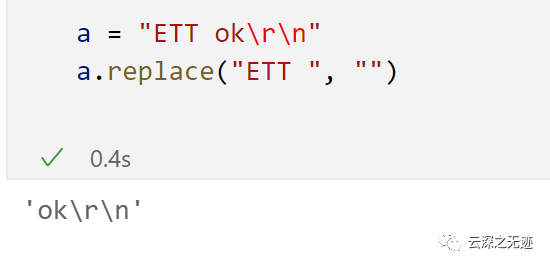
這里用Python模擬一下,就是把前綴去除了

源碼實現(xiàn)
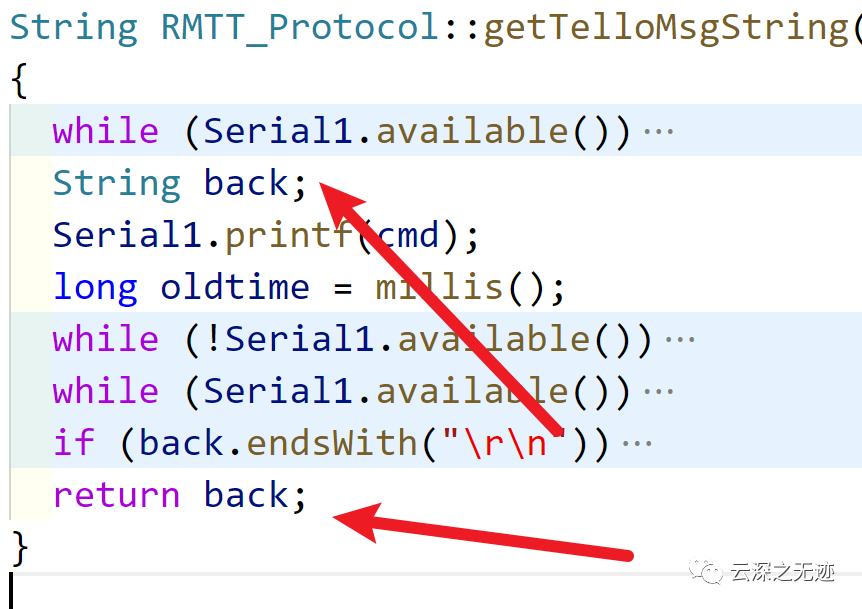
back是個String

如果這個back不不等于這個串,就執(zhí)行下面的
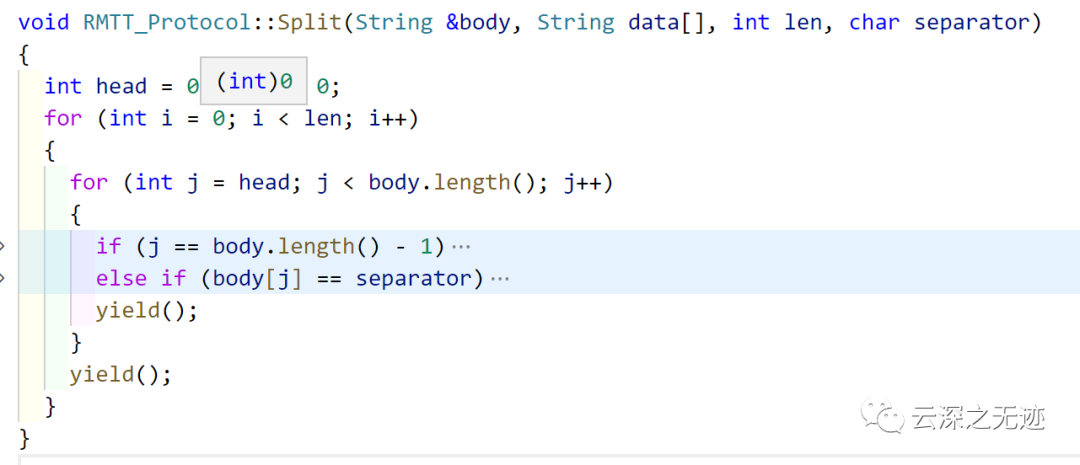
而且這里自己寫了一個字符串的分割函數(shù)
Split(String &body, String data[], int len, char separator)看參數(shù),要分割的串,以及一個數(shù)組,長度,分割符號
Split(back, data, 21, ';');String data[21];這個21 的數(shù)組要放一些東西
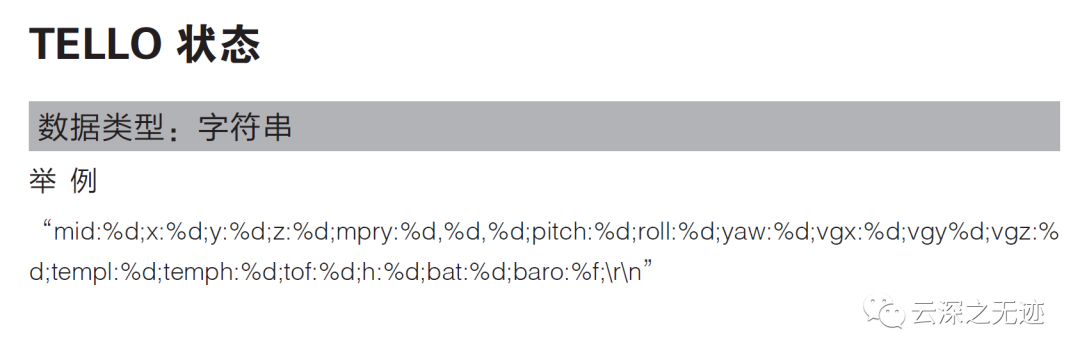
要分割這些東西
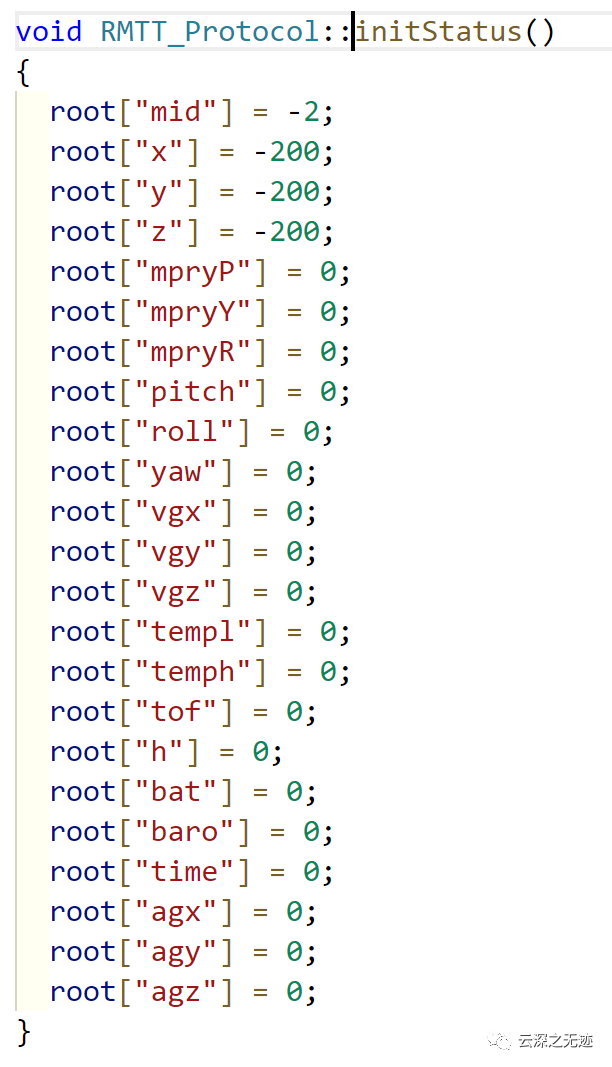
在此
自己看去吧。

mpry是所謂的挑戰(zhàn)卡
C++中的方法:
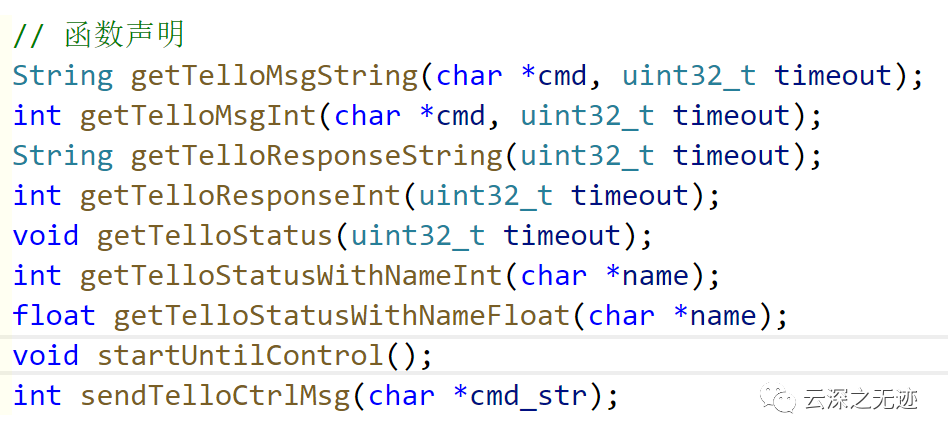
這些
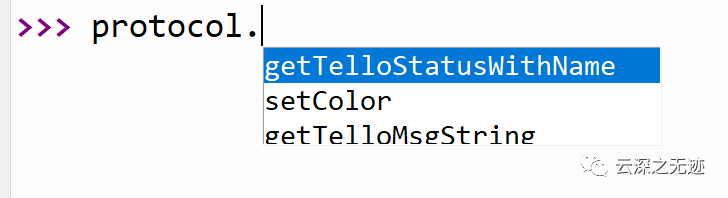
Tab,自己補全,參數(shù)類型和返回類型看C++ 的源碼
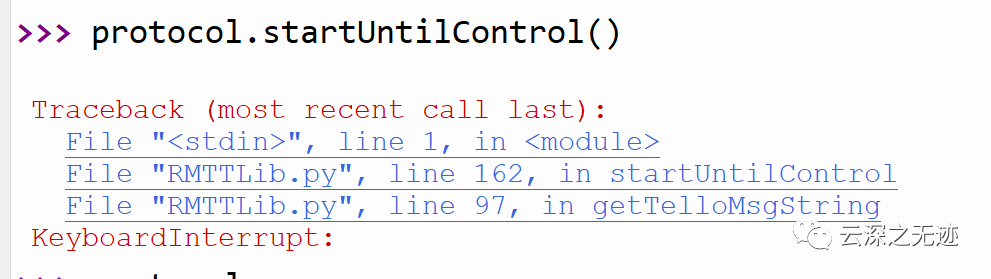
這個功能也是實現(xiàn)的
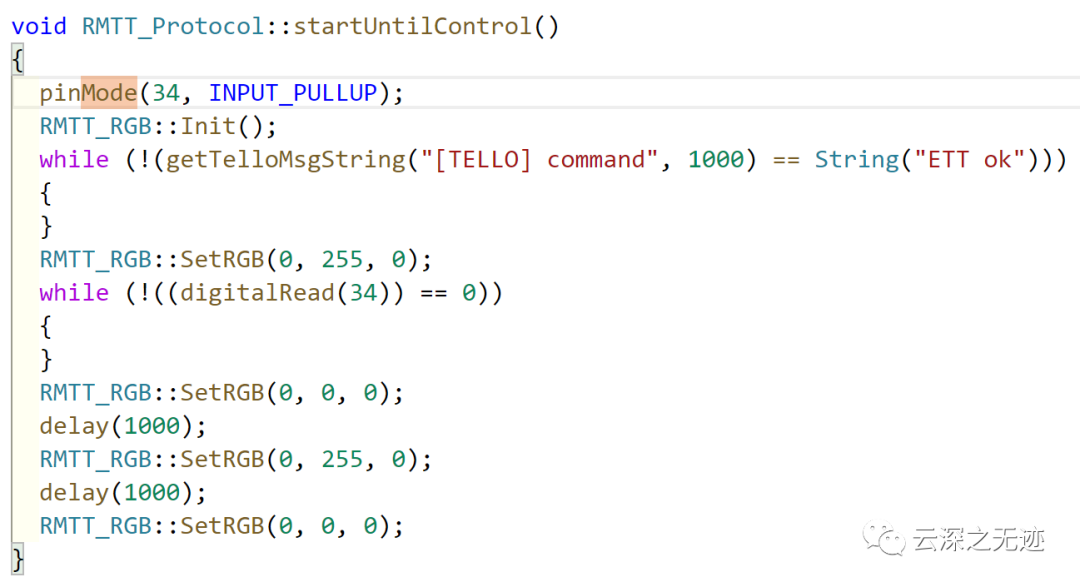
源碼在此
protocol.startUntilControl()protocol.sendTelloCtrlMsg("motoron")protocol.sendTelloCtrlMsg("motoroff")protocol.sendTelloCtrlMsg("takeoff")protocol.sendTelloCtrlMsg("throwfly")protocol.sendTelloCtrlMsg("land")protocol.sendTelloCtrlMsg("emergency")protocol.sendTelloCtrlMsg("up "+str(int(50)))protocol.sendTelloCtrlMsg("left "+str(int(50)))protocol.sendTelloCtrlMsg("cw "+str(int(90)))protocol.sendTelloCtrlMsg("flip f")protocol.sendTelloCtrlMsg("go "+str(int(50))+" " +str(int(50))+" "+str(int(0))+" "+str(int(100)))protocol.sendTelloCtrlMsg("stop")protocol.sendTelloCtrlMsg("curve "+str(int(20))+" "+str(int(20))+" "+str(int(0))+" "+str(int(40))+" "+str(int(60))+" "+str(int(0))+" "+str(int(10)))protocol.sendTelloCtrlMsg("mon")protocol.sendTelloCtrlMsg("mdirection 0")protocol.sendTelloCtrlMsg("go "+str(int(50))+" "+str(int(50))+" "+str(int(80))+" "+str(int(50))+" "+"m-1")protocol.sendTelloCtrlMsg("curve "+str(int(20))+" "+str(int(20))+" "+str(int(80)) +" "+str(int(40))+" "+str(int(60))+" "+str(int(80))+" "+str(int(60))+" "+"m-1")protocol.sendTelloCtrlMsg("jump "+str(int(100))+" "+str(int(0))+" " +str(int(80))+" "+str(int(50))+" "+str(int(0))+" "+"m-1"+" "+"m-1")protocol.sendTelloCtrlMsg("setyaw "+str(0)+" "+"m-1")protocol.getTelloStatus(1000)protocol.sendTelloCtrlMsg("speed "+str(int(50)))
這是所有的協(xié)議方法
后面介紹一個最重要的方法:
uart1.write("[TELLO] rc "+str(int(50))+" "+str(int(50)) +" "+str(int(50))+" "+str(int(50)))
rc命令
https://docs.micropython.org/en/latest/library/machine.UART.html?highlight=uart#machine.UART文檔位置。
UART對象的作用就像一個stream對象和讀寫使用標準流方法完成:
uart.read(10) # read 10 characters, returns a bytes objectuart.read() # read all available charactersuart.readline() # read a lineuart.readinto(buf) # read and store into the given bufferuart.write('abc') # write the 3 characters
直接寫就好。
UART.write(buff)
將字節(jié)緩沖區(qū)寫入總線。
返回值:寫入或None超時的字節(jié)數(shù)
除去上面的這些,一些普通的單片機的引腳這些也是可以實現(xiàn)。
from machine import Pin, PWMfrom machine import *pwm13?=?PWM(Pin(13))p13 = Pin(13, Pin.OUT)pwm13.duty(200)p13.value(1)
我這里寫了一點使用的代碼。


