作者:Nathan Xu,AMD工程師;來源:AMD開發(fā)者社區(qū)
這篇blog介紹在ZCU106上創(chuàng)建Video Multi-Scaler IP的Vivado和Petalinux工程, 在ZCU106上run生成的image, 并測試生成的圖像文件, 以及常見問題的debug。
Vivado工程:
1. 打開Vivado 2022.2, 按照PG325 -> ch.6 Example Design的步驟, 打開Multi-scaler的example, 步驟如下:
To open the example project, perform the following:
Select the Video Multi-Scaler IP from the Vivado IP catalog.
Double-click the selected IP or right-click the IP and select Customize IP from the menu.
Configure the build-time parameters in the Customize IP window and click OK. The Vivado IDE generates an example design matching the build-time configuration.
In the Generate Output Products window, select Generate or Skip. If Generate is selected, the IP output products are generated after a brief moment.
Right-click Video Multi-Scaler in the Sources panel, and select Open IP Example Design from the menu.
In the Open IP Example Design window, select example project directory, and click OK.
2. Example工程打開之后, 在BD工程里加入AXI GPIO IP和slice, 加入AXI GPIO和slice是為了替換PS GPIO EMIO. AXI GPIO和Slice IP配置如下:
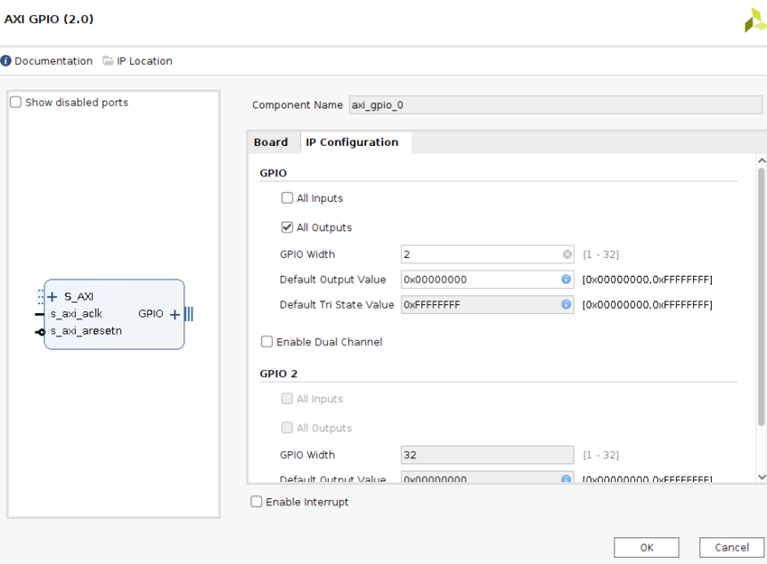
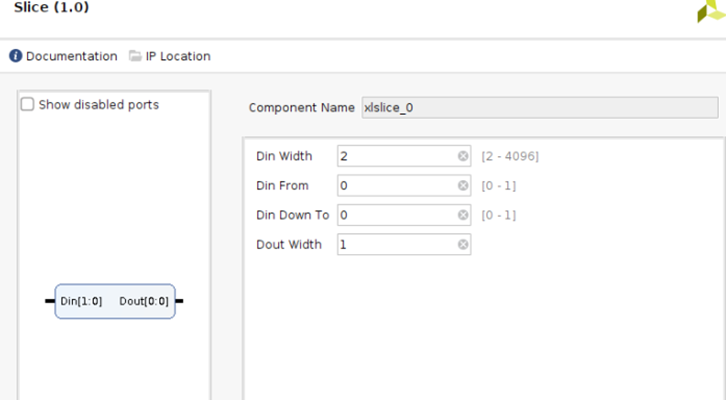
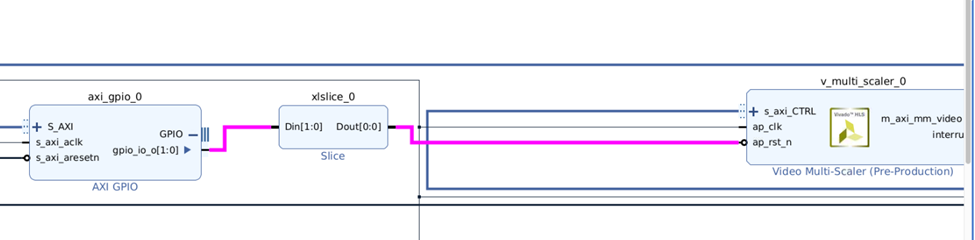
3. 刪除原先GPIO EMIO到Multi-Scaler IP的reset連線.? 把AXI GPIO和slice直接連接到Multi-Scaler IP的reset管腳, 如下:
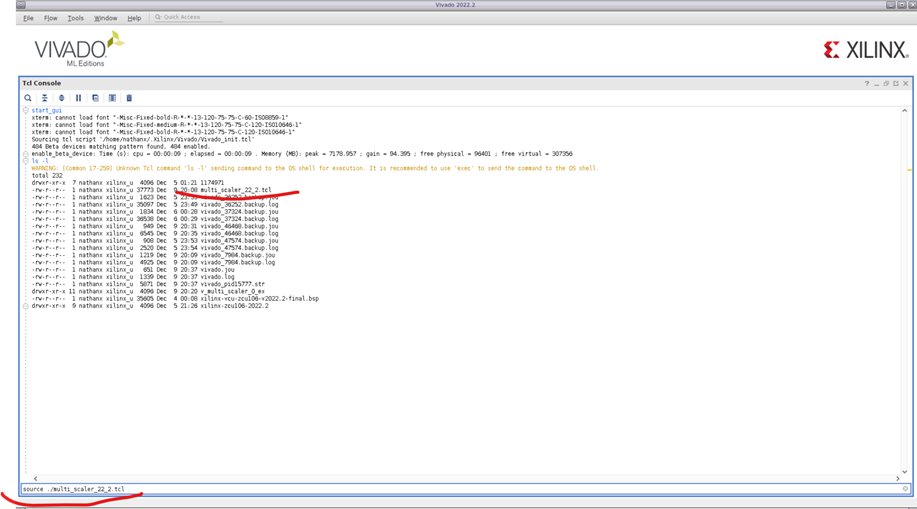
4. 或者打開Viavdo 2022.2 GUI界面, 確保重建BD工程的tcl文件”multi_scaler_22_2.tcl”在當前路徑下, 然后運行”source ./multi_scaler_22_2.tcl”, 重建BD工程. 如下所示:
”multi_scaler_22_2.tcl”見附件
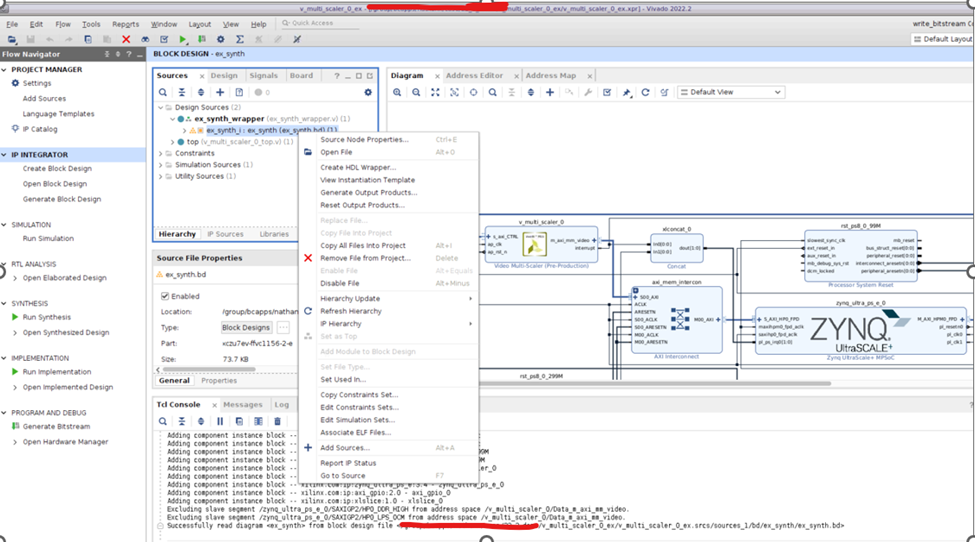
5. 當BD工程建好之后, 選中BD文件, 按右鍵, 選擇”create HDL wrapper”.
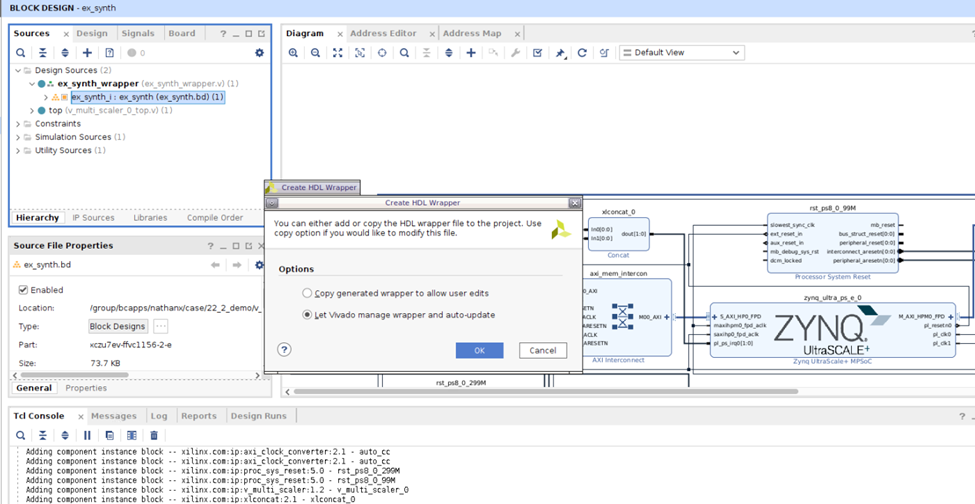
6. 在“create HDL wrapper”對話框中, 選擇”let Vivado manage wrapper and auto-update”. 如下:
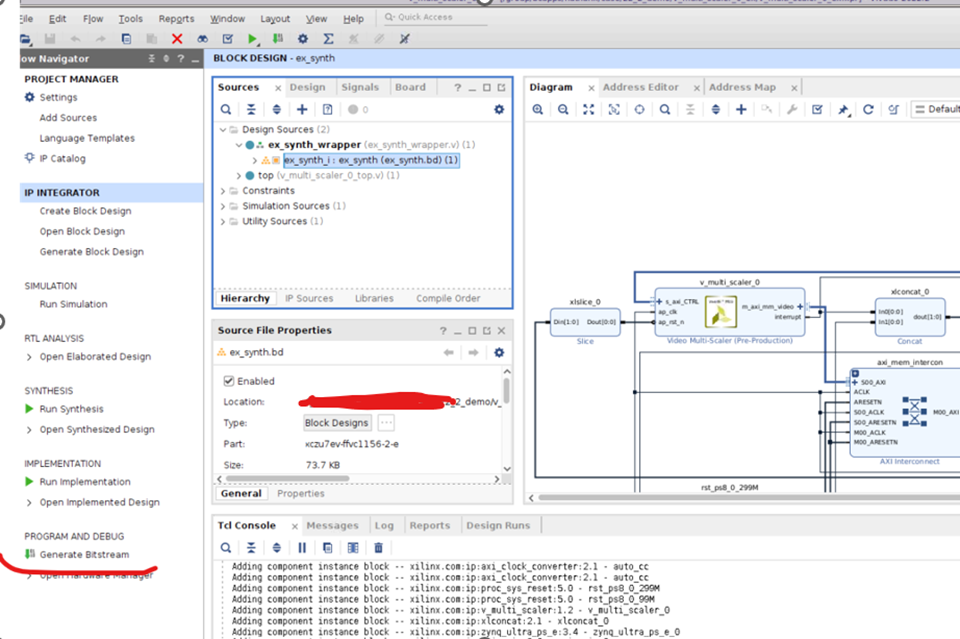
7. 然后點擊“generate Bitstream”
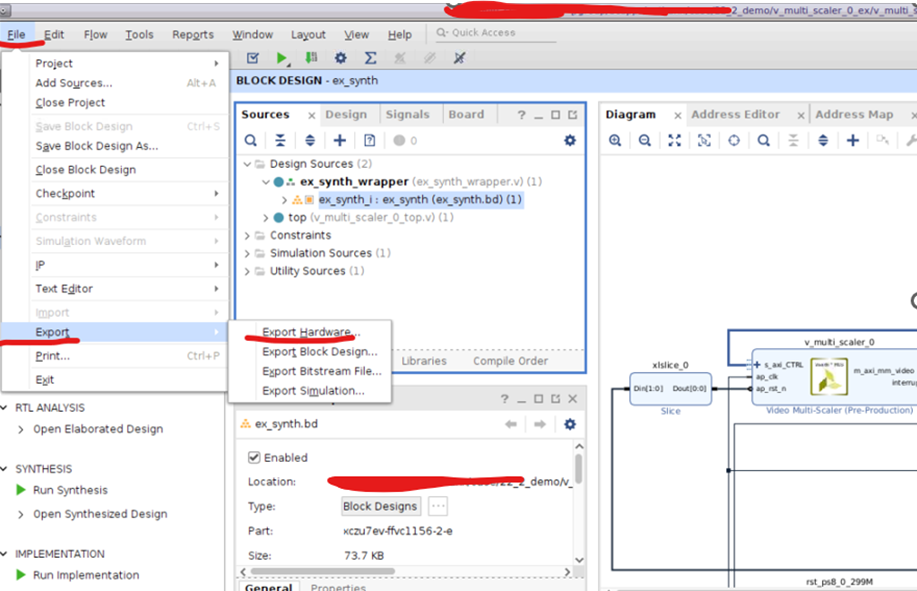
8. Bitstream成功生成后, 選擇File -> Export -> Export Hardware”
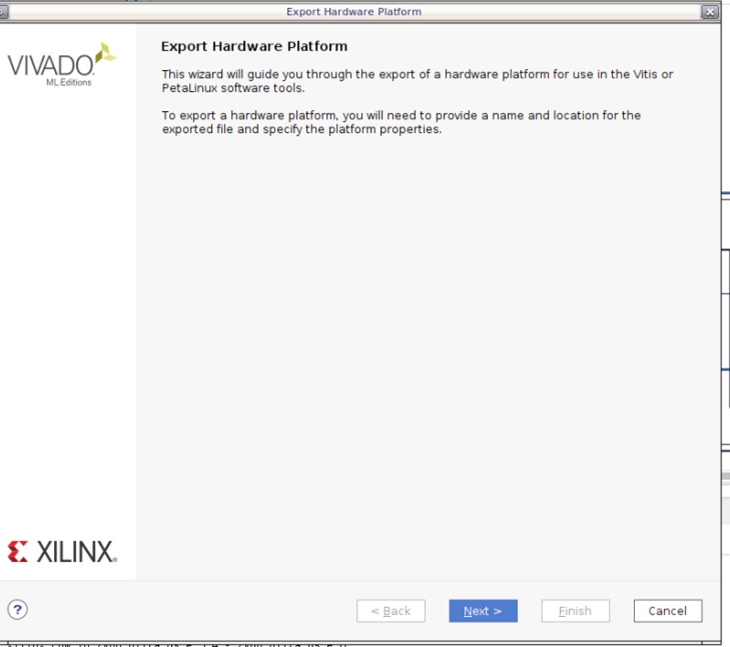
9. 選擇Next
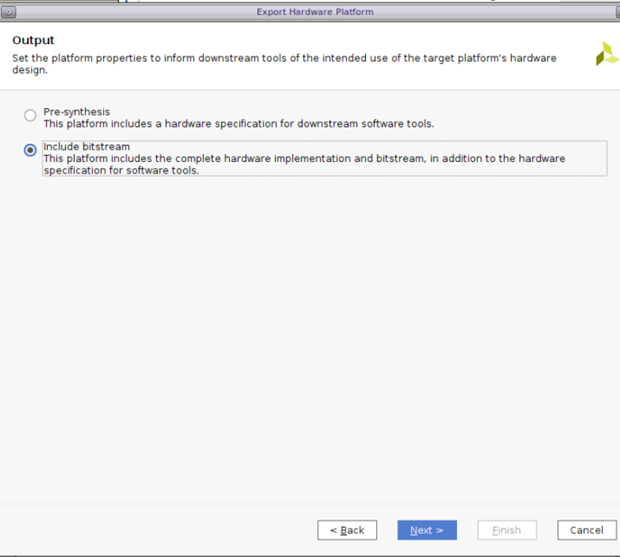
10. 選擇“Include Bitstream”.
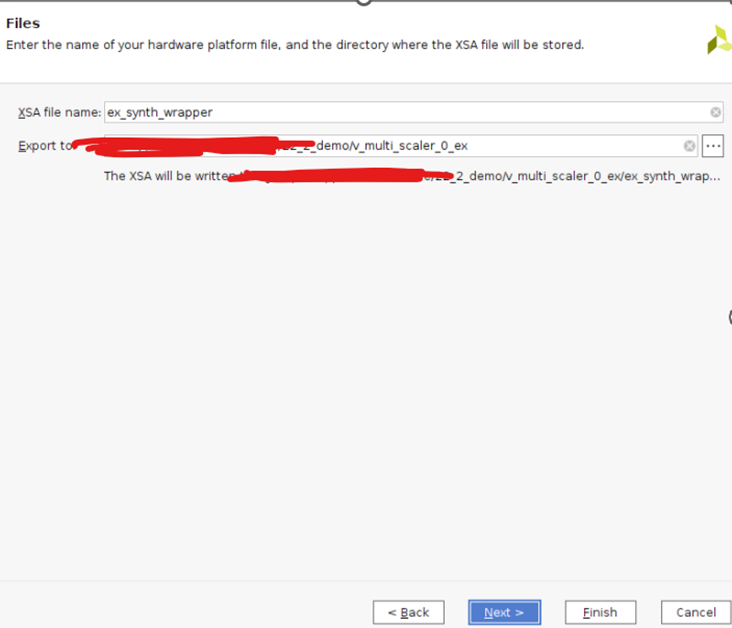
11. 選擇export XSA的路徑.
【今晚7點直播間見】