
樹莓派Pico的mpy例子,寫幾個作為參考使用:
import machineimport utimesensor_temp = machine.ADC(4)conversion_factor = 3.3 / (65535)while True:reading = sensor_temp.read_u16() * conversion_factortemperature = 27 - (reading - 0.706)/0.001721print(temperature)utime.sleep(2)
打印內(nèi)置的溫度傳感器的溫度
先初始化讀取內(nèi)部的ADC的值,然后用65535除一下看分度值
下面死循環(huán),讀取。
from machine import Pin, Timerled = Pin(25, Pin.OUT)tim = Timer()def tick(timer):global ledled.toggle()tim.init(freq=2.5, mode=Timer.PERIODIC, callback=tick)
from machine import Pinp2 = Pin(2, Pin.IN, Pin.PULL_UP)p2.irq(lambda pin: print("IRQ with flags:", pin.irq().flags()),Pin.IRQ_FALLING)
使用內(nèi)部中斷,為了方便。
還是點(diǎn)燈
import timeimport _threadimport machinedef task(n, delay):led = machine.Pin(25, machine.Pin.OUT)for i in range(n):led.high()time.sleep(delay)led.low()time.sleep(delay)print('done')_thread.start_new_thread(task, (10, 0.5))
這東西是雙核的嘛,所以可以使用線程來加速
我們引入微庫,然后定義一個任務(wù),后面線程要執(zhí)行
代碼的實(shí)現(xiàn)很簡單,就是閃爍個LED
下面直接加到線程里面就可以執(zhí)行了
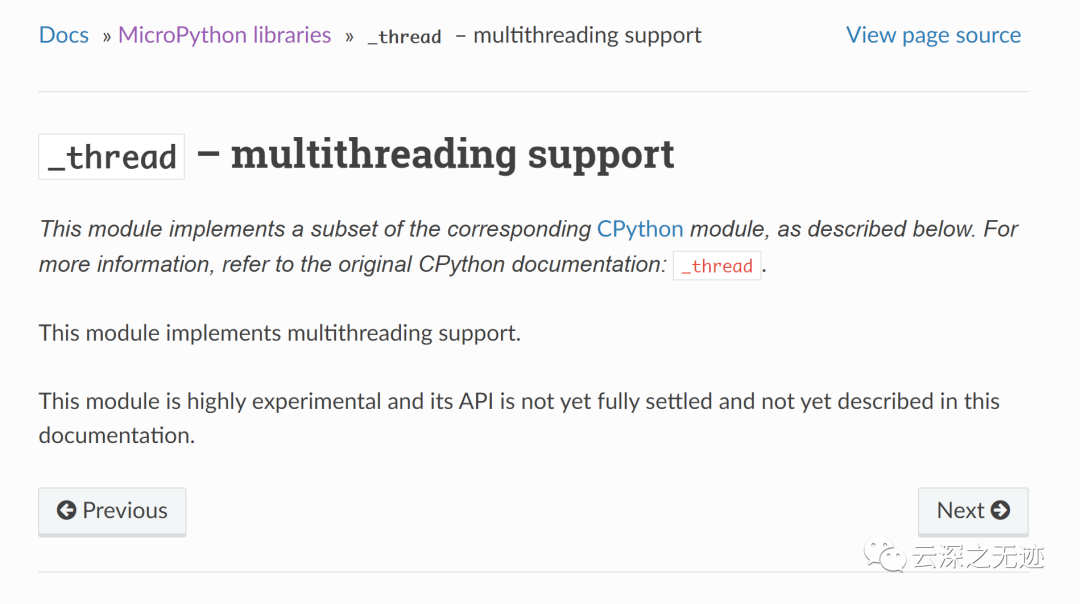
就是這個
from machine import SPIspi = SPI(0)spi = SPI(0, 100_000)spi = SPI(0, 100_000, polarity=1, phase=1)spi.write('test')spi.read(5)buf = bytearray(3)spi.write_readinto('out', buf)
SPI在mpy里面分外簡單,直接initial。然后讀寫操作就好了
import timefrom machine import Pin, PWM= PWM(Pin(25))pwm.freq(1000)duty = 0direction = 1for _ in range(8 * 256):duty += directionif duty > 255:duty = 255direction = -1elif duty < 0:duty = 0direction = 1* duty)time.sleep(0.001)
使用PWM模塊實(shí)現(xiàn)LED的亮暗變化
先指定引腳,然后是頻率,for的時候用了一個占位符
下面的邏輯是實(shí)現(xiàn)了,從小到大和從小到大
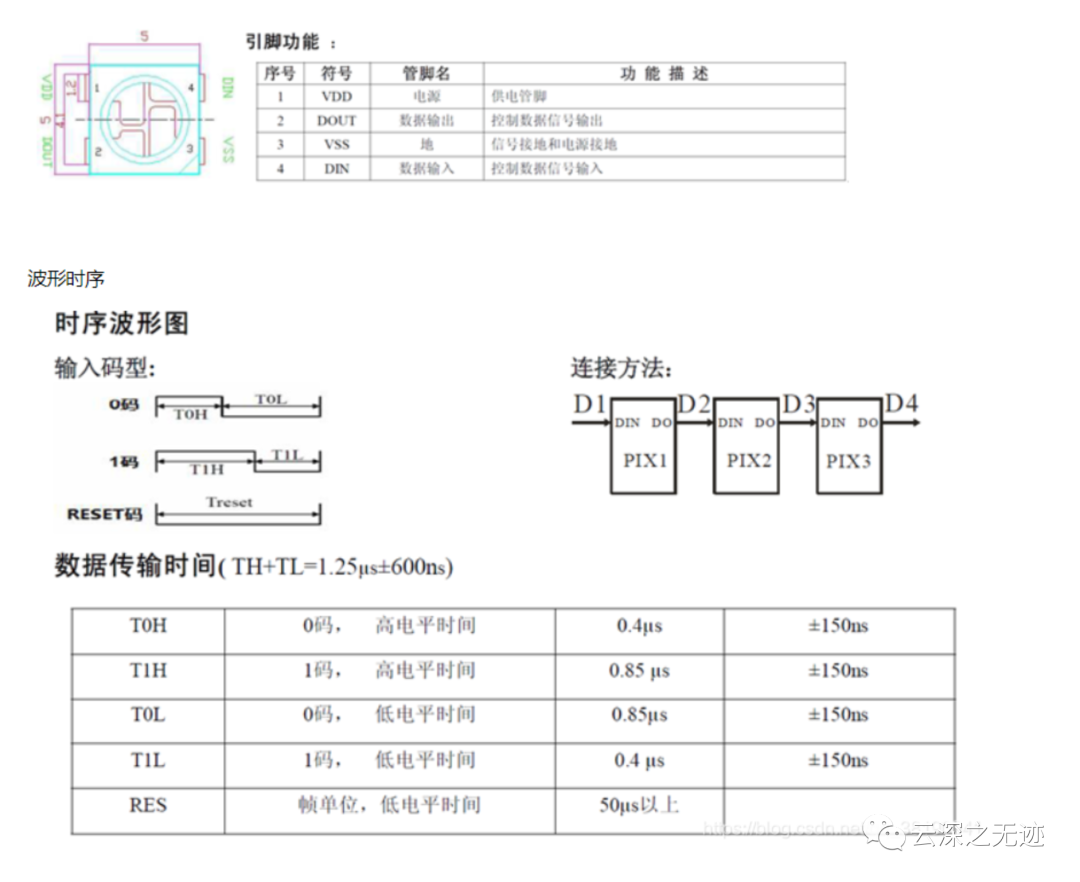
控制一個WS2812
# 控制WS2812import arrayimport timefrom machine import Pinimport rp2# 分配一個管腳NUM_LEDS = 8def ws2812():T1 = 2T2 = 5T3 = 3wrap_target()label("bitloop")out(x, 1) .side(0)[T3 - 1]jmp(not_x, "do_zero") .side(1)[T1 - 1]jmp("bitloop") .side(1)[T2 - 1]label("do_zero")nop() .side(0)[T2 - 1]wrap()sm = rp2.StateMachine(0, ws2812, freq=8_000_000, sideset_base=Pin(22))sm.active(1)ar = array.array("I", [0 for _ in range(NUM_LEDS)])for i in range(4 * NUM_LEDS):for j in range(NUM_LEDS):r = j * 100 // (NUM_LEDS - 1)b = 100 - j * 100 // (NUM_LEDS - 1)if j != i % NUM_LEDS:r >>= 3b >>= 3ar[j] = r << 16 | bsm.put(ar, 8)time.sleep_ms(50)for i in range(24):for j in range(NUM_LEDS):ar[j] >>= 1sm.put(ar, 8)time.sleep_ms(50)
用了一點(diǎn)神奇的東西,這個pico有狀態(tài)引腳
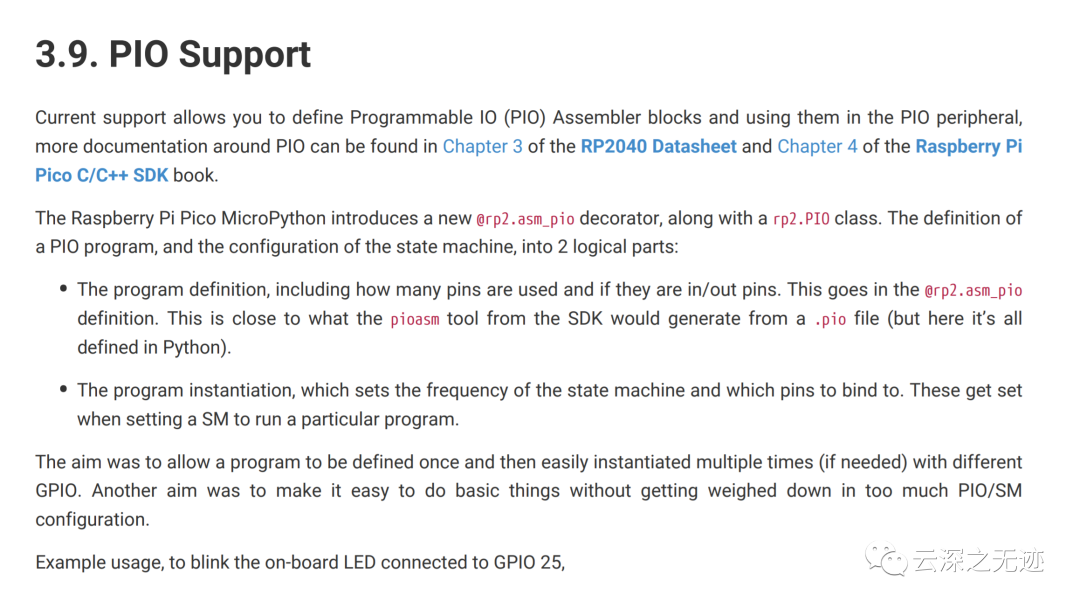
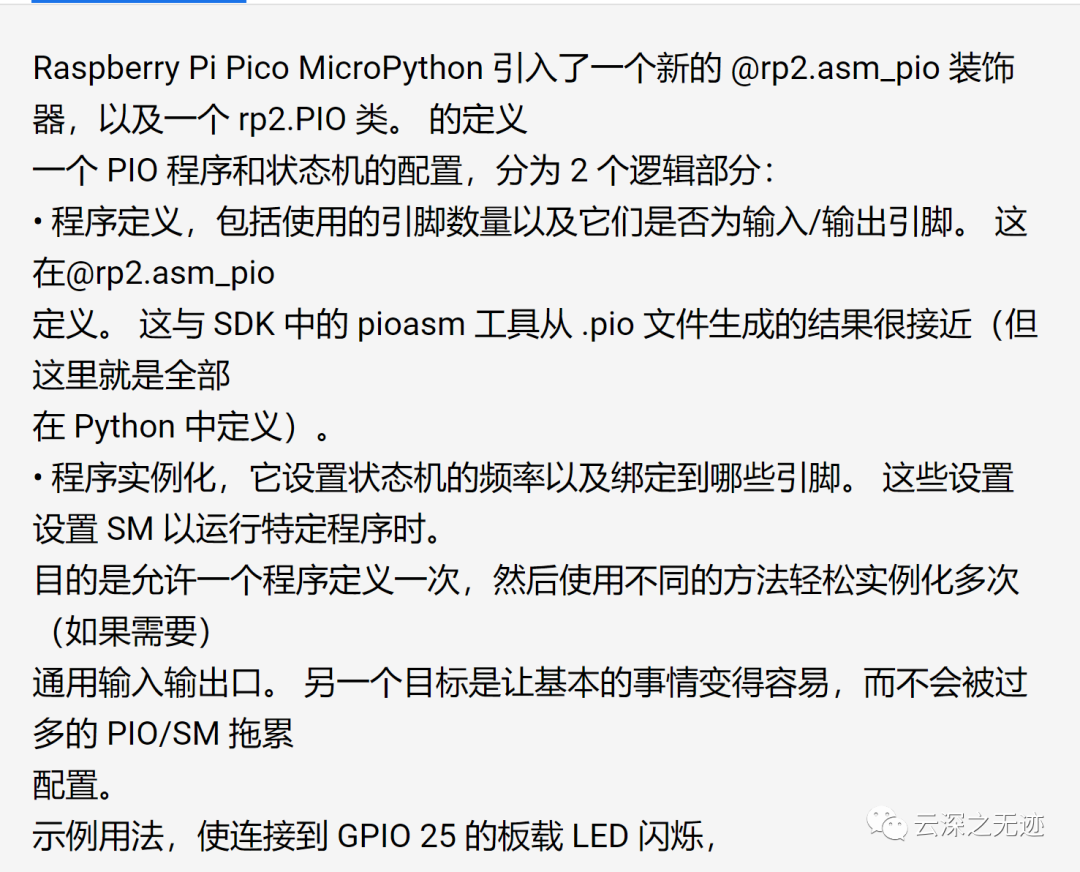
@rp2.asm_pio(sideset_init=rp2.PIO.OUT_LOW, out_shiftdir=rp2.PIO.SHIFT_LEFT, autopull=True, pull_thresh=24)def ws2812():T1 = 2T2 = 5T3 = 3wrap_target()label("bitloop")out(x, 1) .side(0)[T3 - 1]jmp(not_x, "do_zero") .side(1)[T1 - 1]jmp("bitloop") .side(1)[T2 - 1]label("do_zero")nop() .side(0)[T2 - 1]wrap()
就是這段,描述了我們ws2812的控制協(xié)議
from machine import Pin, I2Ci2c = I2C(0, scl=Pin(9), sda=Pin(8), freq=100000)i2c.scan()i2c.writeto(76, b'123')i2c.readfrom(76, 4)i2c = I2C(1, scl=Pin(7), sda=Pin(6), freq=100000)i2c.scan()i2c.writeto_mem(76, 6, b'456')i2c.readfrom_mem(76, 6, 4)
I2C普通的demo,設(shè)置引腳,freq
然后掃描一下地址,剩下的命令就是讀寫了,很常見
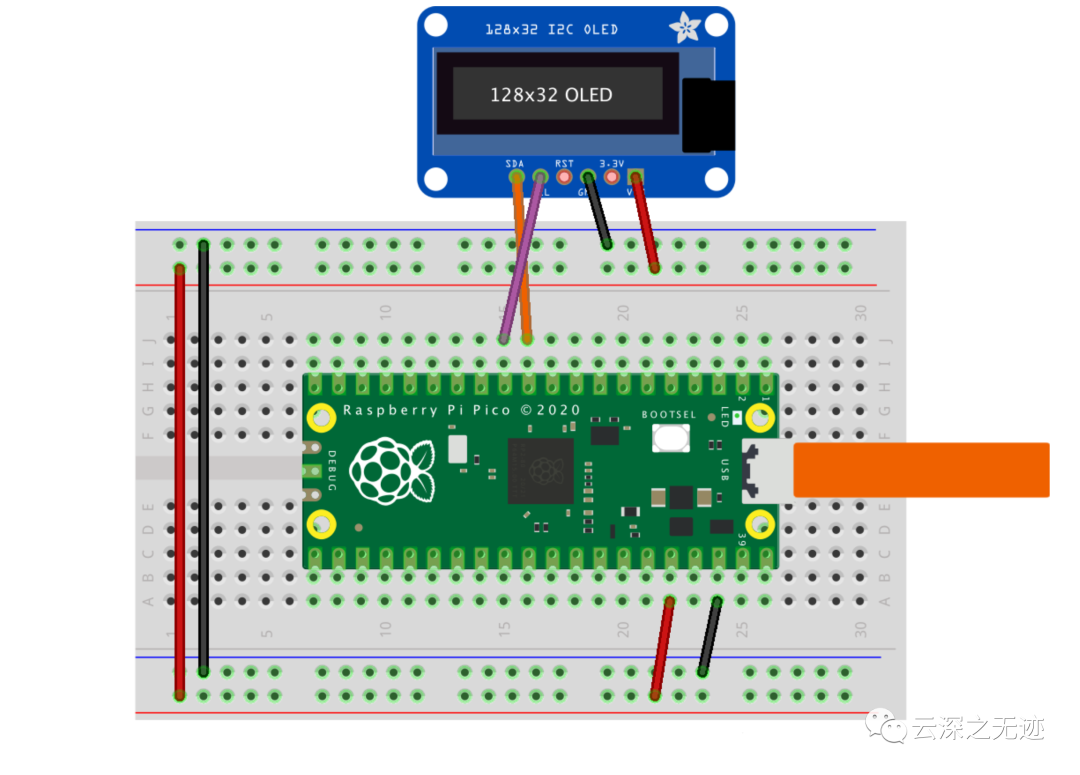
普通的I2C的屏幕
from machine import Pin, I2Cfrom ssd1306 import SSD1306_I2Cimport framebufWIDTH = 128HEIGHT = 32i2c = I2C(0)print("I2C Address : "+hex(i2c.scan()[0]).upper())print("I2C Configuration: "+str(i2c))oled = SSD1306_I2C(WIDTH, HEIGHT, i2c)buffer = bytearray(b"\x00\x00\x00\x00\x00\x00\x00\x00\x00\x00\x00\x00\x00|?\x00\x01\x86@\x80\x01\x01\x80\x80\x01\x11\x88\x80\x01\x05\xa0\x80\x00\x83\xc1\x00\x00C\xe3\x00\x00~\xfc\x00\x00L'\x00\x00\x9c\x11\x00\x00\xbf\xfd\x00\x00\xe1\x87\x00\x01\xc1\x83\x80\x02A\x82@\x02A\x82@\x02\xc1\xc2@\x02\xf6>\xc0\x01\xfc=\x80\x01\x18\x18\x80\x01\x88\x10\x80\x00\x8c!\x00\x00\x87\xf1\x00\x00\x7f\xf6\x00\x008\x1c\x00\x00\x0c \x00\x00\x03\xc0\x00\x00\x00\x00\x00\x00\x00\x00\x00\x00\x00\x00\x00")fb = framebuf.FrameBuffer(buffer, 32, 32, framebuf.MONO_HLSB)oled.fill(0)oled.blit(fb, 96, 0)oled.text("Raspberry Pi", 5, 5)oled.text("Pico", 5, 15)oled.show()
驅(qū)動普通的SSD1306屏幕,驅(qū)動是提前移植好的
https://www.raspberrypi.org/documentation/rp2040/getting-started/#rp2040-boards參考資料在這里
C/C++ SDK
Python SDK
還有很多有趣的代碼沒有寫,參考來自官網(wǎng)資料~
https://datasheets.raspberrypi.org/pico/raspberry-pi-pico-c-sdk.pdfhttps://datasheets.raspberrypi.org/pico/raspberry-pi-pico-python-sdk.pdfhttps://docs.micropython.org/en/latest/library/_thread.html
